
|
Do it yourself
| |||
| ||||


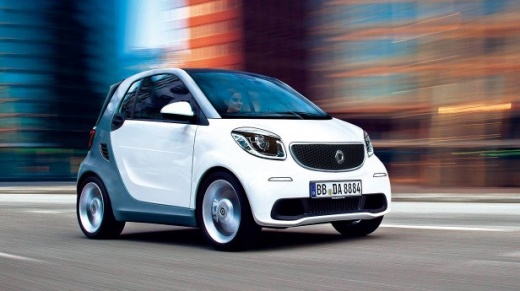
How do you reset the Service light on the Smart 453?
Model: Smart Smart
453
- Years 2014-2022
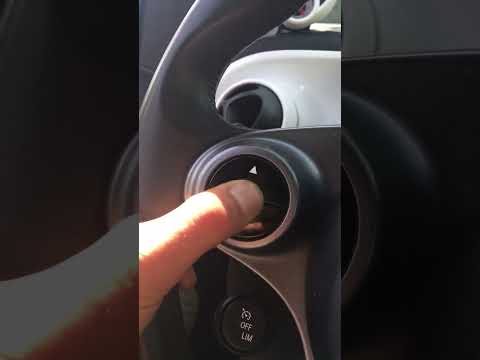
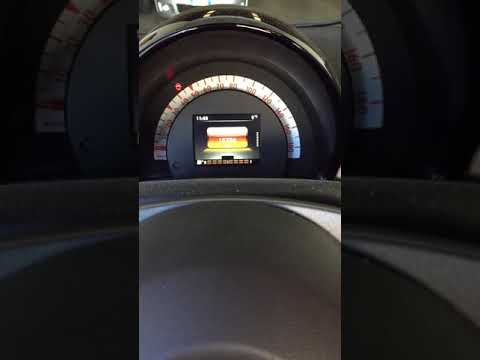
The procedure for resetting the Service light on the Smart 453 involves inserting the key into the ignition and then turning it to turn on the instrument panel: at this point, using the buttons on the left side of the steering wheel, you will need to navigate to the menu and select the "Maintenance" option. Once this option is reached, you will need to press and hold the OK button for a few seconds, until the text on the display starts flashing. At this point, by continuing to hold down the button, you will be able to see that the reset is complete.
Posted on 2 March 2024 by ScegliAuto
Video tutorial
Related tutorials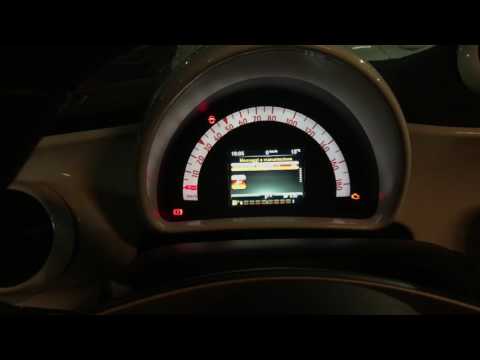
Smart
(2014-2022 /
453)
In order to reset the Smart 453 Service warning light, you need to turn on the instrument panel and move through the menu until you reach the item "M…
Smart
(2014-2022 /
453)
The operation to reset the Service light on the Smart 453 is performed by inserting the key into the ignition and turning it to turn on the instrumen…
Smart
(2014-2022 /
453)
The Smart 453 Service warning light is reset by inserting the key into the ignition and turning it to switch on the instrument panel: at this point, …
Other guides you may be interested in
|
Removing the Timing Belt on a Suzuki Vitara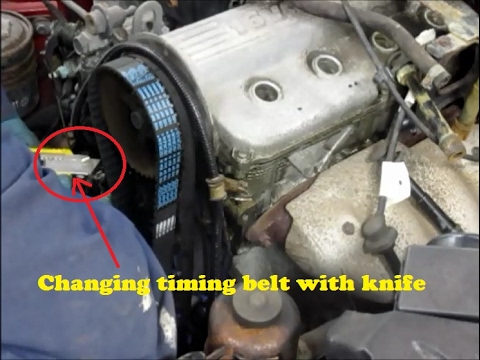
In this video, see the removal and replacement of the timing belt and water pump on a Suzuki Vitara. Open the bonnet and lift it, securing it in place. Use a socket wrench to remove the cooling radiator along with the associated hoses. Disconnect the power wiring using pliers, and remove the plastic undertray with a screwdriver. Use a spanner to loosen the tensioner pulley and slide the belt off its seat. Use a socket wrench to unscrew the tensioner pulley bolt, and remove the water pump as shown in the video. Fit the new water pump, the tensioner, and the belt itself, tightening everything with the socket wrench. Finally, reinstall the radiator with the securing bolts. by ScegliAuto More videos
|
For advertising on this site Write to info@scegliauto.com
ScegliAuto is not responsible for any inaccuracy of the data in the lists. To report any inaccuracy or your business (if you own the business in question), please write to info@scegliauto.com
Number of seconds to generate the page: 0.111
(c) ScegliAuto 2026 - info@scegliauto.com - Privacy policy VAT number: IT01247470535 |