
|
Do it yourself
| |||
| ||||


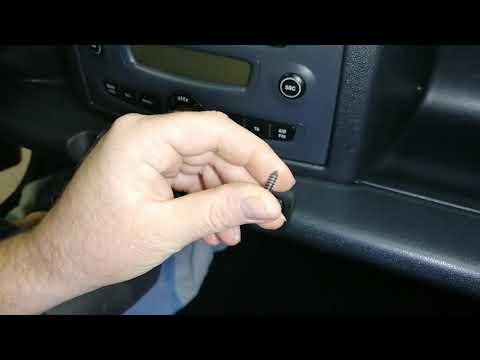
How to replace the radio on the Smart 450
Model: Smart Smart
450
- Years 1998-2007
In this video, we see how to install a Sony XAV-AX1000 radio (it is the current model of the one shown in the video, which has the same construction and installation features) that you can find on Amazon with the code B07GLTVT62 at the price of 262.45 euros + 18 euros for shipping. We will have to remove the dashboard panel and the frame surrounding the old radio. By removing the bottom part, we can unscrew the four screws holding the device in place; we disconnect the connectors, but we will have to connect the GPS antenna wire to the black wire. Once this is done, we connect the plugs and place the new screen. Before fixing it, we test it and if everything is working fine, we tighten the screws and put back the frame and the panel. Operation completed.
Posted on 20 June 2024 by ScegliAuto
Video tutorial
Related tutorials
Smart
(1998-2007 /
450)
In today's video we see how to install a two din car radio in the first series of Smarts, or the 450. This operation will allow you to modernize your…
Smart
(1998-2007 /
450)
Let's see in this video how to disassemble the original car radio on a Smart Fortwo 450 and 451, first and second series respectively. First of all w…

Smart
(1998-2007 /
450)
Today's instructions will show us how to disassemble and replace the stock radio of the Smart Fortwo. First, we get into the car and start removing t…
Other guides you may be interested in
|
How to Replace a Headlight Bulb on a Ford Focus
How do you replace a rear headlight bulb on a Ford Focus? Let's see how to do it in this video. This operation is very simple to carry out. Open the boot and remove the plastic cover from the side trim. Unscrew the retaining screws of the lamp unit, then pull it out by hand from the car's bodywork. Disconnect the power connectors, taking care not to damage them. Once the rear light is removed, replace the damaged bulbs. After completing this operation, reassemble everything in reverse order. Finally, check that the lights are functioning correctly. by ScegliAuto More videos
|
|
For advertising on this site Write to info@scegliauto.com
ScegliAuto is not responsible for any inaccuracy of the data in the lists. To report any inaccuracy or your business (if you own the business in question), please write to info@scegliauto.com
Number of seconds to generate the page: 0.055
(c) ScegliAuto 2026 - info@scegliauto.com - Privacy policy VAT number: IT01247470535 |