
|
Do it yourself
| |||
| ||||


What is the fuse diagram for the Suzuki Swift?
Model: Suzuki Swift
MK 6, A2L
- Years 2017-2024
In this video, we can see where the fuse boxes of the Suzuki Swift are located and what the corresponding diagrams are, useful in case we need to check the fuses of a malfunctioning device. We find the first box inside the engine compartment, protected by the black plastic cover located next to the battery. On the positive terminal of the latter, we can also find additional fuses. The second box, on the other hand, is located inside the cabin, in the lower left area of the dashboard on the driver's side. Let's make sure to replace faulty fuses with replacements that have equivalent specifications and to always operate with the vehicle turned off.
Posted on 10 January 2026 by ScegliAuto
Video tutorial
Related tutorials
Suzuki Swift
(2010-2017 /
Rs41, AZG, MK 5)
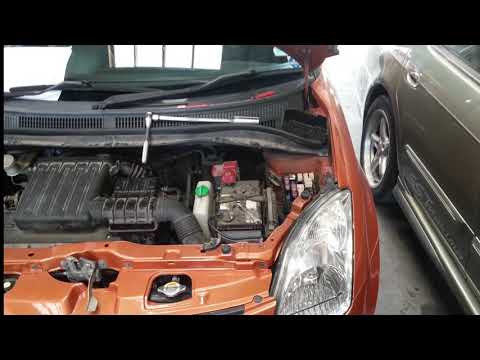
In this video, see the fuse diagram for the Suzuki Swift and the location of the respective fuse boxes, useful if you need to check the fuse for a ma…
Suzuki Swift
(2004-2010 /
MK 4, Rs41)
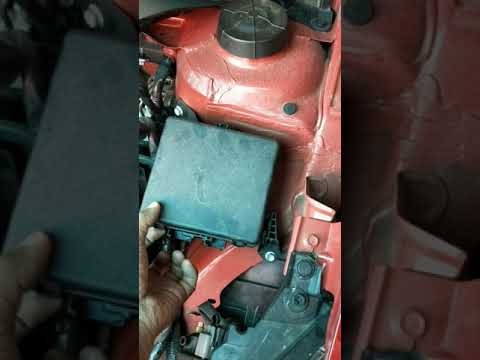
Today's guide will show you the positioning and diagram of the fuses in the Suzuki Swift. First, open the bonnet of the vehicle and locate the extern…
Suzuki Swift
(2010-2017 /
Rs41, AZG, MK 5)
Today's instructions will show you the diagram and positioning of the external fuse box of the Suzuki Swift. First, open the bonnet and locate the fu…
Other guides you may be interested in
|
How to Connect the Cables to the Battery of the Citroen Xsara Picasso?
In this tutorial, you will see how to connect the cables to the battery of the Citroen Xsara Picasso, useful if you need to recharge it or perform an emergency start. First, ensure the key is not inserted, then open the bonnet and move to the front of the left headlamp. Next, locate the bolt just behind the filter box and connect the positive terminal clamp to it. Now you can connect the negative terminal to any point on the chassis, such as the indicated point. Once the operation is complete, ensure you disconnect the negative first and then the positive. by ScegliAuto More videos
|
|
For advertising on this site Write to info@scegliauto.com
ScegliAuto is not responsible for any inaccuracy of the data in the lists. To report any inaccuracy or your business (if you own the business in question), please write to info@scegliauto.com
Number of seconds to generate the page: 0.385
(c) ScegliAuto 2026 - info@scegliauto.com - Privacy policy VAT number: IT01247470535 |
