
|
Do it yourself
| |||
| ||||


How to Change the Oil and Reset the Light on a Suzuki Vitara
Model: Suzuki Vitara
LY
- Years 2015-2024
Change the oil in your Suzuki Vitara: warm up the oil, lift the vehicle to access the oil sump, and obtain a suitable container that can hold the used oil. It should hold at least 4 litres, which you will dispose of at an authorised centre. Be careful not to burn yourself and avoid dropping the bolt into the oil. Alternatively, take this opportunity to change it. While the oil drains, change the filter. Use a special tool to remove it. Refit the filter with a new O-ring. Once the oil has fully drained, replace the bolt that seals the oil sump. Now refill the oil through the cap in the bonnet (the service kit costs between £30.00 and £80.00, depending on the quality of the oil you intend to purchase from major e-commerce platforms). Check the oil level using the dipstick. Now reset the light. Put the gear in neutral and turn on the ignition. Press the right button on the instrument panel until SETTINGS appears. Rotate the button until you find "oil replacement/change" and press. Select "reset" and press until the message "successful" appears and the vehicle beeps. The operation is complete.
Updated on 6 July 2026 by ScegliAuto
Video tutorial
Related tutorials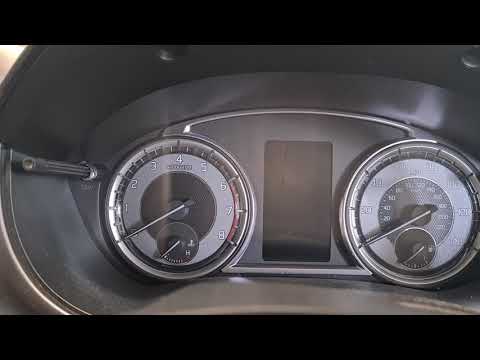
Suzuki Vitara
(2015-2024 /
LY)
Before you can begin, sit in the driver's seat of your Suzuki Vitara. Start by selecting the blank screen on the multifunction display. Next, press a…
Suzuki Vitara
(2015-2024 /
LY)
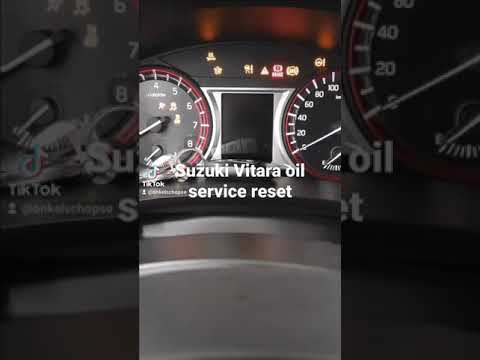
To manually reset the oil change warning light on your Suzuki Vitara, follow this quick and simple procedure. First, insert the key and turn on the i…
Suzuki Vitara
(2015-2024 /
LY)
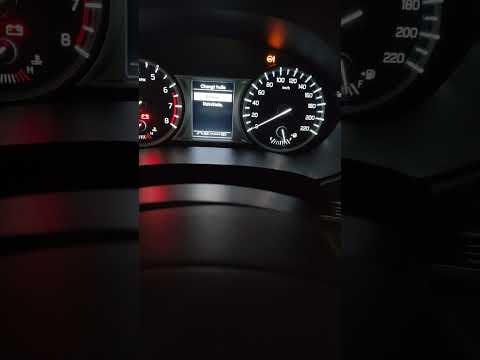
Through this brief video guide, you can see the entire procedure necessary to reset the service light on our fourth generation Suzuki Vitara, produce…
Other guides you may be interested in |
Frequently Asked QuestionsHow to Open the Bonnet on the Lancia Y
To open the bonnet on this vehicle, follow these simple instructions: first, open the driver's door and locate the lever positioned just below the dashboard, marked with an image of the vehicle with the bonnet open. Pull this lever towards you until you hear a "click" indicating the bonnet is released. Next, exit the cabin and stand in front of the bonnet to disengage the safety catch and complete the opening. To do this, slightly lift the bonnet, locate the yellow lever underneath, and pull it to the left to fully release and open the bonnet. by ScegliAuto More videos
|

|
For advertising on this site Write to info@scegliauto.com
ScegliAuto is not responsible for any inaccuracy of the data in the lists. To report any inaccuracy or your business (if you own the business in question), please write to info@scegliauto.com
Number of seconds to generate the page: 0.055
(c) ScegliAuto 2026 - info@scegliauto.com - Privacy policy VAT number: IT01247470535 |
