
|
Do it yourself
| |||
| ||||



Resetting the Tyre Pressure Light on a Suzuki Swift
Model: Suzuki Swift
AZG, Rs41, MK 5
- Years:
2010, 2011, 2012, 2013, 2014, 2015, 2016, 2017
Video tutorial
In today's video guide, see how to reset the tyre pressure light on a Suzuki Swift, a fifth-generation model produced from 2010 to 2017. There are no special procedures or buttons to press for this operation; simply ensure all four tyres are inflated to the correct pressure as indicated by the manufacturer. This pressure is often found on a sticker located on the driver's door pillar. Once done, the vehicle will automatically register the new tyre pressures, and after 5 to 10 minutes of driving, the pressure light will reset automatically.
Updated on 16 August 2026 by ScegliAuto
Related tutorials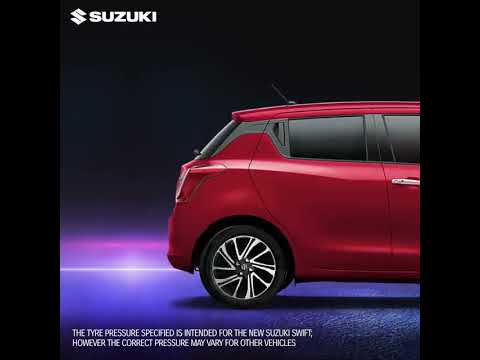
Suzuki Swift
(2017-2024 /
A2L, MK 6)
To reset the tyre pressure warning light on the Suzuki Swift, inflate the tyres to the optimal pressure value: this value is indicated on the sticker…

Suzuki Swift
(2010-2017 /
AZG, Rs41, MK 5)
The video shows how to reset the tyre pressure of a Suzuki Swift. It is a straightforward but important operation that takes only a few minutes. Afte…
Suzuki Swift
(2017-2024 /
A2L, MK 6)
To reset the tyre pressure warning light on a Suzuki Swift, start the engine and the instrument panel to check if the light is on. With the engine ru…
ScegliAuto offers an extensive international collection of automotive tutorials available in 12 languages. Each guide combines instructional videos with original explanations written by experienced human editors, along with information about the car models covered.
Other guides you may be interested in |
Frequently Asked QuestionsWhere is the battery located on the Aprilia Scarabeo 250ie scooter?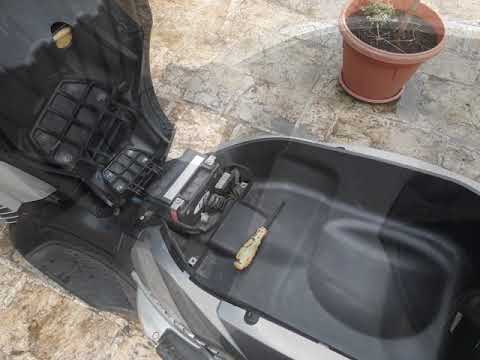
This video shows where the battery is located on the Aprilia Scarabeo 250ie scooter and how to proceed if you need to replace it. As shown, it is located beneath the seat. To access and replace it, first open the seat, then remove the plastic cover by unscrewing the relevant screws with a cross-head screwdriver. Next, disconnect both terminals, starting with the negative, remove the battery from its housing, and install the new replacement following the reverse procedure. by ScegliAuto More videos
|
For advertising on this site Write to info@scegliauto.com
ScegliAuto is not responsible for any inaccuracy of the data in the lists. To report any inaccuracy or your business (if you own the business in question), please write to info@scegliauto.com
Number of seconds to generate the page: 0.021
(c) ScegliAuto 2026 - info@scegliauto.com - Privacy policy - About us VAT number: IT01247470535 |
