
|
Do it yourself
| |||
| ||||


Replacing Engine Spark Plugs
Model: Toyota Yaris
Xp90
- Years 2005-2011
To avoid mixing up the cables, disconnect one spark plug at a time. Before proceeding with the removal, thoroughly clean the wells with compressed air to eliminate any dirt that could fall into the combustion chamber. Using a 10mm socket wrench, unscrew the sealing nut of the first spark plug and pull the boot upwards. Using the appropriate spark plug socket, which has a rubber grip, gently insert it onto the spark plug and unscrew it. Be careful not to drop any foreign objects into the well. Replace the spark plug with one of the same model, carefully inserting it into the well, again using the appropriate socket and gently turning it to ensure it screws in correctly. If you encounter resistance, remove it and try again. The spark plugs should be tightened with a torque wrench; if you do not have one, screw them in without over-tightening. Proceed with the same operation for the other spark plugs.
Updated on 5 February 2026 by ScegliAuto
Video tutorial
Related tutorials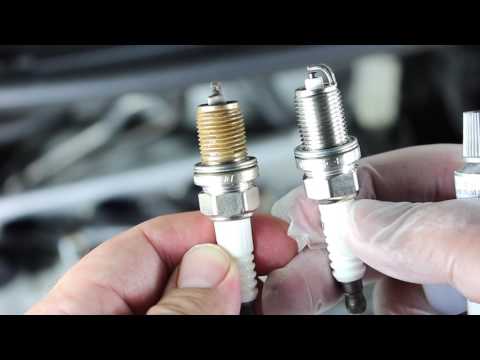
Toyota Yaris
(2005-2011 /
Xp90)
In this tutorial, you will learn how to remove and replace the spark plugs in a Toyota Yaris VVT-i engine. First, open and lift the bonnet. Remove th…
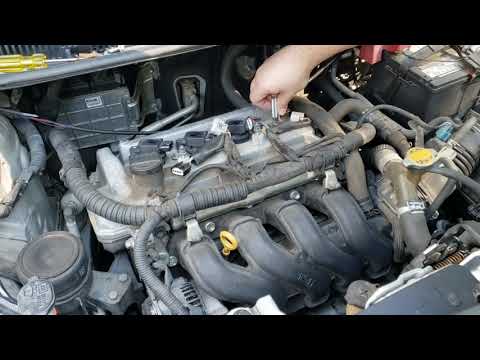
Toyota Yaris
(2005-2011 /
Xp90)
In this tutorial, you will learn how to remove and replace the engine spark plugs on the Toyota Yaris by following these simple and quick steps. Firs…
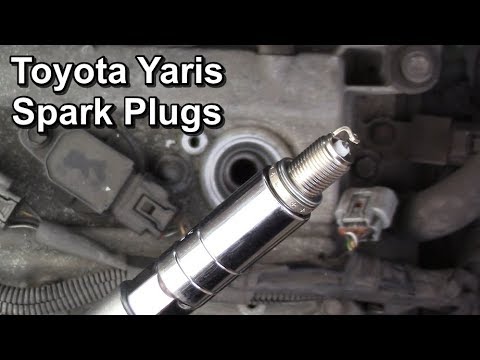
Toyota Yaris
(2005-2011 /
Xp90)
Want to remove the spark plugs from a Yaris? Let's see how to do it. Lift the front bonnet of the car, and start by removing the air filter housing: …
Other guides you may be interested in
|
How to Connect the Cables to the Battery of the Citroen Xsara Picasso?
In this tutorial, you will see how to connect the cables to the battery of the Citroen Xsara Picasso, useful if you need to recharge it or perform an emergency start. First, ensure the key is not inserted, then open the bonnet and move to the front of the left headlamp. Next, locate the bolt just behind the filter box and connect the positive terminal clamp to it. Now you can connect the negative terminal to any point on the chassis, such as the indicated point. Once the operation is complete, ensure you disconnect the negative first and then the positive. by ScegliAuto More videos
|

|
For advertising on this site Write to info@scegliauto.com
ScegliAuto is not responsible for any inaccuracy of the data in the lists. To report any inaccuracy or your business (if you own the business in question), please write to info@scegliauto.com
Number of seconds to generate the page: 0.080
(c) ScegliAuto 2026 - info@scegliauto.com - Privacy policy VAT number: IT01247470535 |
