
|
Do it yourself
| |||
| ||||


How to Remove the Fairing on the Yamaha R1?
Model: Yamaha R1 Yamaha
Video tutorial
Detailed instructions - In this tutorial, you will see how to remove the fairing on the Yamaha R1, a very simple and quick operation. First, use a 10mm socket to undo the two bolts near the rearview mirror, then undo the other two bolts of the lower plastic panel with a 5mm Allen key. Repeat the process on the opposite side and move on to the next indicated bolts: two located on the inner lower section, another two at the junction with the lower fairing, and the last ones on the fork. Once all screws are removed, grasp the fairing and separate it from the frame.
Updated on 1 June 2026 by ScegliAuto
Related tutorials
R1 Yamaha
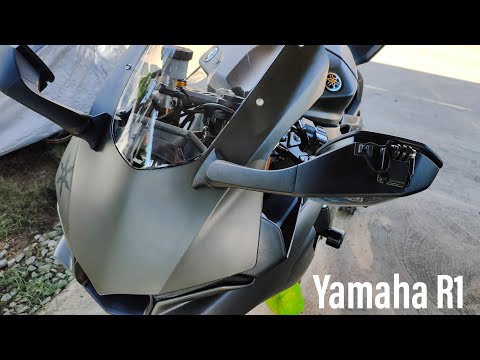
In this tutorial, we can see how to remove the rear fairing on the Yamaha R1, an extremely simple and quick operation. First, remove the passenger se…
R1 Yamaha
In this video tutorial, you will learn how to remove the front fairing of the headlamp on a Yamaha R1 in simple and quick steps. First, unscrew the f…

R1 Yamaha
In this video tutorial, we will see how to remove and replace the battery on a Yamaha R1, following the instructions provided below. First, remove th…
|
Removing the Rear Wheel on a Moto Guzzi California 1400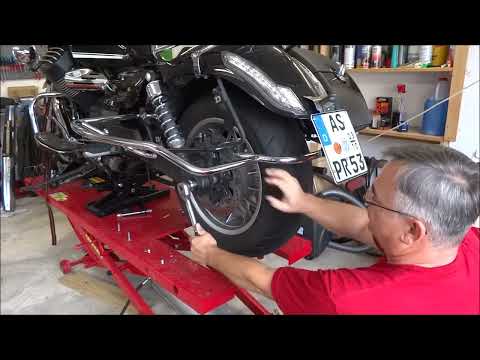
This guide outlines the steps to remove and replace the rear wheel, brake disc, and tyre on a Moto Guzzi California 1400. First, place the motorcycle on a stand and start unscrewing the bolts from the exhaust silencer brackets to remove them. Then, use a socket wrench with an extension to unscrew the central nut of the wheel, pulling out the axle from the other side, as illustrated in the video. Now, remove the wheel, replacing the tyre or brake disc if necessary, following the video tutorial to the end! by ScegliAuto More videos
|
For advertising on this site Write to info@scegliauto.com
ScegliAuto is not responsible for any inaccuracy of the data in the lists. To report any inaccuracy or your business (if you own the business in question), please write to info@scegliauto.com
Number of seconds to generate the page: 0.316
(c) ScegliAuto 2026 - info@scegliauto.com - Privacy policy VAT number: IT01247470535 |
