
|
Do it yourself
| |||
| ||||



How to Replace the Cabin Bulbs in a Toyota Auris
Model: Toyota Auris
E180
- Years:
2012, 2013, 2014, 2015, 2016, 2017, 2018
Video tutorial
In this tutorial, you will see the steps to replace the bulbs in the interior light of a Toyota Auris. The operation is quite simple; before you start, ensure you have the necessary materials, namely a flat-head screwdriver and new bulbs. Get inside the car and insert the screwdriver tip along the edge of the interior light cover, gently prying to release the clips that hold it against the roof. Once the clips are released, remove the cover; at this point, you will have access to the bulbs that need replacing. Proceed to remove the old bulbs and replace them. Before closing the interior light, test the light switches to ensure the operation was successful.
Updated on 18 June 2026 by ScegliAuto
Related tutorials
Toyota Auris
(2007-2012 /
E150)
These brief and simple steps will show you how to dismantle and replace the rear light bulbs on the Toyota Auris. First, open the rear door of the ve…
Toyota Auris
(2007-2012 /
E150)
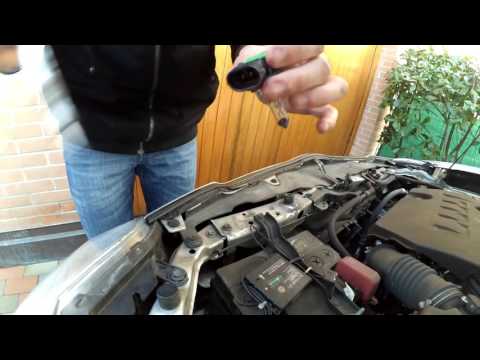
Learn how to replace the bulbs located in the front headlamp of a Toyota Auris. Open the bonnet by pulling the lever located at the bottom right of t…

Toyota Auris
(2007-2012 /
E150)
Need to replace the front headlight bulbs on a Toyota Auris? Here’s how to proceed. Open the front bonnet by pulling the lever located at the bottom …
ScegliAuto offers an extensive international collection of automotive tutorials available in 12 languages. Each guide combines instructional videos with original explanations written by experienced human editors, along with information about the car models covered.
Other guides you may be interested in |
How to Set the Time and Date on the Toyota Yaris
In just a few simple steps, you will learn how to set the date and time on the Toyota Yaris by following the instructions below. First, get inside the vehicle and turn on the instrument panel; then go to the vehicle settings from the central display and select the clock option, as shown in the video. From here, you can set the time by adjusting the hours and minutes; if necessary, set the date and both formats, including automatic time via GPS, and finally exit the settings menu to save the changes made. by ScegliAuto More videos
|
|
For advertising on this site Write to info@scegliauto.com
ScegliAuto is not responsible for any inaccuracy of the data in the lists. To report any inaccuracy or your business (if you own the business in question), please write to info@scegliauto.com
Number of seconds to generate the page: 0.036
(c) ScegliAuto 2026 - info@scegliauto.com - Privacy policy - About us VAT number: IT01247470535 |
