
|
Do it yourself
| |||
| ||||


How a Diesel Particulate Filter is Made
Model: (Various brands) Various
In this video, we take the opportunity of a damaged vehicle to see how a diesel particulate filter is constructed internally: it consists of two main sections: the oxidation catalyst that reduces CO (carbon monoxide) and HC (unburnt hydrocarbons) converting them into CO2 and H2O; the actual particulate filter traps soot particles thanks to a honeycomb structure made of silicon carbide and ceramic; the walls are porous: they allow gas to pass but trap particulate matter, causing soot particles to accumulate in the filter. During long journeys, the heat of the exhaust gas (over 500°C) burns the particles, converting them into CO2. A dirty DPF contains soot and ash: the latter does not burn, and over time clogs the filter. Being made of precious materials (platinum, palladium, and silicon carbide), the DPF is a delicate and expensive component; if it clogs, it causes a loss of power, the engine warning light to illuminate, and increased fuel consumption. Some remove or empty it, but this is illegal, and the vehicle will not pass emissions tests.
Posted on 13 March 2026 by ScegliAuto
Video tutorial
Related tutorials
(Various brands) Various
In this video tutorial, you can see how to clean the diesel particulate filter with Warm Up additive: if your car has covered over 62,000 miles, the …
(Various brands) Various
If you want to clean the diesel particulate filter on your vehicle, you can follow the instructions provided in this video and the description below.…
(Various brands) Various
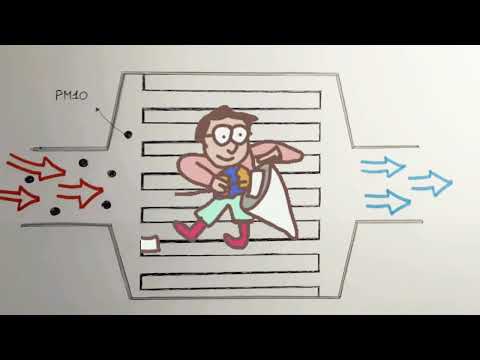
This short video tutorial explains how the diesel particulate filter works: if you have a car with a diesel engine, you have likely seen the DPF ligh…
Other guides you may be interested in
|
Frequently Asked QuestionsHow to change the time on a Toyota Yaris
In this video we see how to change the time on a Toyota Yaris, specifically when it comes to switching from daylight saving time to standard time and vice versa. We go to the multifunction screen and press "settings": from there we go to press the clock, simply click on daylight saving time, and the clock will change the time for us, without doing anything else. All we want to do is just adjust the time format to 12 or 24 hours, as is customary in the area where we live: for example in Anglo-Saxon countries it is common to set the time to 12 hours, while in the European Union it is normally set to 24 hours. by ScegliAuto More videos
|
|
For advertising on this site Write to info@scegliauto.com
ScegliAuto is not responsible for any inaccuracy of the data in the lists. To report any inaccuracy or your business (if you own the business in question), please write to info@scegliauto.com
Number of seconds to generate the page: 0.365
(c) ScegliAuto 2026 - info@scegliauto.com - Privacy policy VAT number: IT01247470535 |
