
|
Do it yourself
| |||
| ||||


How to repair a stuck seatbelt retractor
Model: (Various brands) Various
Video tutorial
To repair a stuck seatbelt retractor, the procedure is delicate and requires care to avoid triggering the spiral spring. Before starting, locate the security screw: this holds the internal spring in place when removing the cover. With a thin screwdriver, carefully insert it from the side and push it all the way in to prevent the spring from loosening and coming out. Gently set the cover aside. Unscrew the three screws that secure the mechanism. Remove the side cover to access the balls (or rollers) that lock the seatbelt in the event of a collision: these are located in an internal tube. Unscrew the two screws and remove the plate. The part to be replaced is the pretensioner (the mechanism that activates in the event of an accident: each car model has its specific one). Install the new component and reassemble everything in reverse order. Before remounting the cover with the spring, hold the mechanism firmly: the spring is under pressure. Once closed, test the seatbelt: it should slide normally, lock if tilted sideways, and hold firmly if pulled sharply. If the seatbelt locks when tilted sideways and works when pulled firmly, the repair is successful.
Posted on 3 October 2026 by ScegliAuto
Related tutorials
(Various brands) Various
Today we will explain how to lubricate the seatbelt to facilitate its insertion. It is important that the seatbelt is functioning when the vehicle is…

(Various brands) Various
Have we ever wondered what the plastic button on the seatbelt is for? If you answered "nothing," you're mistaken: companies don't put 0.01 cents wort…

(Various brands) Various
The video explains that after an accident, the seatbelt may seem stuck and not retract from the retraction mechanism. In reality, it is often not bro…
ScegliAuto offers an extensive international collection of automotive tutorials available in 12 languages. Each guide combines instructional videos with original explanations written by experienced human editors, along with information about the car models covered.
Other guides you may be interested in
|
Frequently Asked QuestionsHow to Reset the Tyre Pressure Light on the Hyundai i20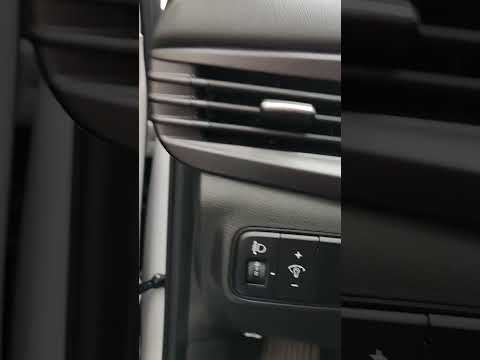
These brief instructions will show you how to reset the tyre pressure monitoring system (TPMS) light on the Hyundai i20. Before performing the reset, ensure that all four tyres are at the correct operating pressure. Then, get inside the cabin and turn on the ignition. Now, press and hold the TPMS reset button located on the left side of the driver's seat until the tyre pressure light resets on the instrument panel, as shown in the video. At this point, turn off the ignition and start the engine to complete the process! by ScegliAuto More videos
|
|
For advertising on this site Write to info@scegliauto.com
ScegliAuto is not responsible for any inaccuracy of the data in the lists. To report any inaccuracy or your business (if you own the business in question), please write to info@scegliauto.com
Number of seconds to generate the page: 0.017
(c) ScegliAuto 2026 - info@scegliauto.com - Privacy policy - About us VAT number: IT01247470535 |
