
|
Do it yourself
| |||
| ||||


How to Remove the Fairing Panels on a Honda CB500X
Model: Honda Honda Various
In this interesting video tutorial, you can see how to remove the fairing panels on a Honda CB500X to replace the motorcycle indicator. Start by lifting the seat of the motorcycle, then proceed to remove the side panel by taking out the fastening screws using an Allen key (be careful with the screw sizes, as they differ; the black one is smaller while the grey one is larger). Now, detach the side panel by unclipping the clips and pulling off the Velcro. To remove the panel, take out the fastening screws located at the side of the motorcycle and at the front (turn the wheel to the side for better access to the front screws). Unscrew the self-tapping screw found at the front and top of the motorcycle; once it reaches the end of its travel, simply pull, as these two clips will loosen, allowing you to slide it off. Remove the small panel located at the top (as shown in the video). Now, you can detach the panel by pulling it upwards and forwards to release the hooks. You can now work on the indicator.
Updated on 23 June 2026 by ScegliAuto
Video tutorial
Related tutorials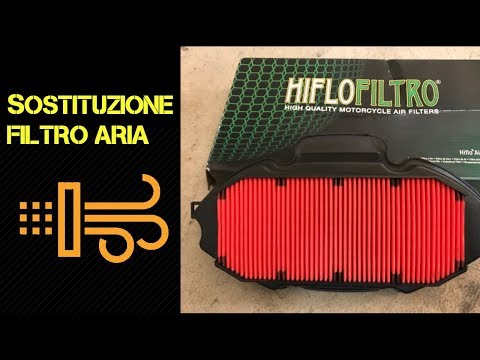
Honda Honda Various
In this video tutorial, you will see how to replace the air filter on a Honda NC750X motorcycle. The first step is to purchase a new air filter, mode…

Honda Honda Various
As shown in the video, you will replace a shorter windscreen with a taller one on the Honda SH 300. The operation is very simple and will take only a…
Honda Honda Various
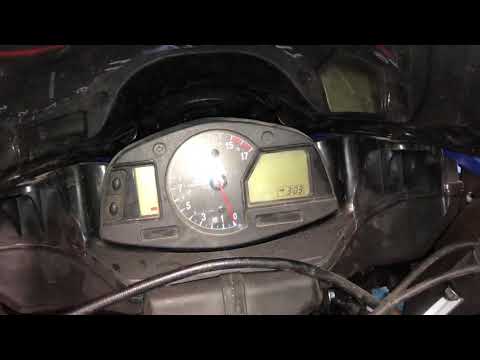
Setting the time on the 2008 Honda CBR 600 RR is a very simple operation that can be done independently; with the help of this brief video, we will e…
Other guides you may be interested in
|
How to Connect the Cables to the Battery of the Citroen Xsara Picasso?
In this tutorial, you will see how to connect the cables to the battery of the Citroen Xsara Picasso, useful if you need to recharge it or perform an emergency start. First, ensure the key is not inserted, then open the bonnet and move to the front of the left headlamp. Next, locate the bolt just behind the filter box and connect the positive terminal clamp to it. Now you can connect the negative terminal to any point on the chassis, such as the indicated point. Once the operation is complete, ensure you disconnect the negative first and then the positive. by ScegliAuto More videos
|
|
For advertising on this site Write to info@scegliauto.com
ScegliAuto is not responsible for any inaccuracy of the data in the lists. To report any inaccuracy or your business (if you own the business in question), please write to info@scegliauto.com
Number of seconds to generate the page: 0.272
(c) ScegliAuto 2026 - info@scegliauto.com - Privacy policy VAT number: IT01247470535 |
