
|
Do it yourself
| |||
| ||||


(Various brands) Various - Video tutorial
Model: (Various brands) Various
In this video we see how common it is to find the defect of delamination or air bubbles on U-Connect screens, which make it impossible to use the multimedia screen. So here are some suggestions. The YouTuber suggests removing it, there are only six cross-headed screws. Once we have removed the screen, disassemble it from the back by removing the side screws and levering the walls to remove the cover, starting from the outer frame, but being careful of the wire that connects it to the bodywork. Remove the screen: on the back we have the model number ending with SL03. Make sure the new screen ends with this code and not with SL01 or SL02, and buy it strictly new, not used. You can find it for example on Amazon with the code B0BVVWPG4W, at a price of 211.32 euros, including delivery. Connect the ribbon cable to the new screen and reassemble the rear bodywork. We can now put the frame back in place and reassemble everything in its housing.
Posted on 9 April 2024 by ScegliAuto
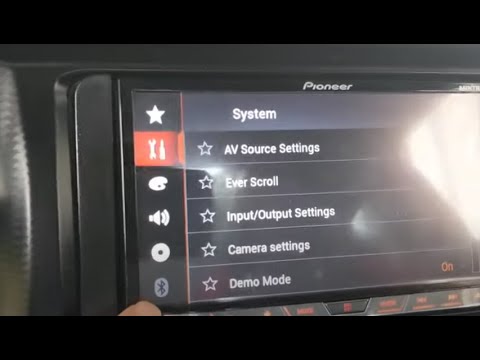 How to solve the problem of error 10 on Pioneer radios.
(Various brands) Various In this video, we can see how to solve error 10 on a Pioneer AVH-100NEX radio. Error 10 is related to a malfunction of the Bluetooth. We need to acce  How to solve the problem with the door locks of the Aixam?
(Various brands) Various In this video, we can see how to solve the problem with the locks of the Aixam quadricycle, when the doors automatically lock when the ignition is tu 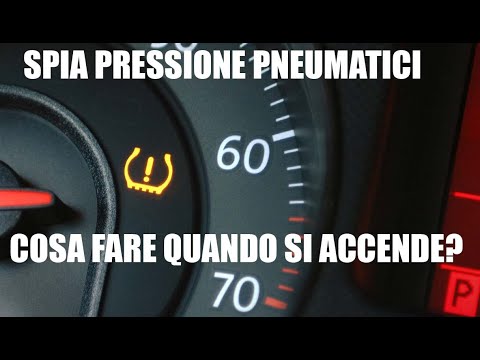 What to do when the Tire Pressure light comes on
(Various brands) Various In this practical video tutorial we will see the possible tips to solve the problem of when the car tire pressure light comes on. First of all, the t Other guides that may interest you |
Frequently Asked QuestionsDisassembly of the gear knob on the Lancia Ypsilon 2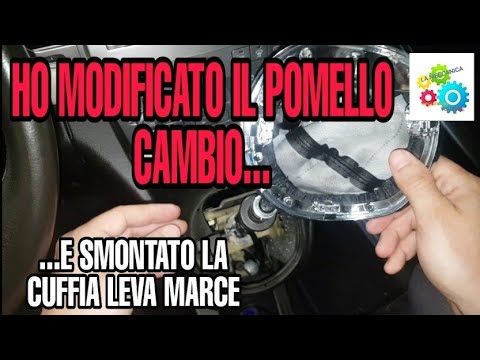
Today we will see, in this video tutorial, how to remove and replace the gear knob on the second series Lancia Ypsilon, but also on the Lancia Musa, in simple and quick steps. We get inside the car and start by removing the old gear knob; to do this, just unscrew it anticlockwise, as shown in the video. At this point we also remove the gearshift gaiter, in order to replace, if necessary, it too; we just have to fix the new headset and insert the new gear knob, screwing it correctly and without creating play on the gear lever! by ScegliAuto More videos
|
|
For advertising on this site Write to info@scegliauto.com
ScegliAuto is not responsible for any inaccuracy of the data in the lists. To report any inaccuracy or your business (if you own the business in question), please write to info@scegliauto.com
Number of seconds to generate the page: 0.013
(c) ScegliAuto 2024 - info@scegliauto.com - Privacy Policy VAT number: IT01247470535 |