
|
Do it yourself
| |||
| ||||


The importance of always checking the timing belt
Model: Volkswagen Golf
Golf VII, MK 7, Golf 7
- Years 2012-2019
Let's see how much truth there is in the recommendation of the video professional: the fundamental importance of checking the timing belt. In fact, as shown by the car in the video, wear can be premature; in fact, the Volkswagen Golf examined had only 139,000 km, but the belt was on the verge of breaking: irregular wear, with the belt wearing more on one side than the other, tensioner (which the youtuber calls "idler"), defective water pump, fluid leaks, unusual noises. Factors that accelerate wear are short urban journeys, extreme temperatures, especially in summer; the quality of the components should not be underestimated, nor should driving style. In addition to respecting deadlines, we will have to carry out periodic visual checks, and always replace the complete kit: belt, tensioner, pump. Saving on these components means risking premature failure.
Posted on 25 September 2025 by ScegliAuto
Video tutorial
Related tutorials
Volkswagen Golf
(2012-2019 /
Golf VII, MK 7, Golf 7)
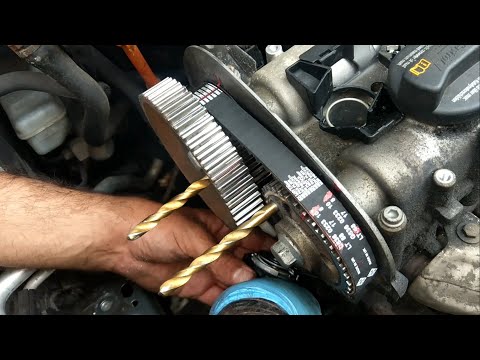
Today's main information will show you how and when to replace the timing belt on a Volkswagen Golf 1.4 TSI. For this type of engine, the timing belt…
Volkswagen Golf
(2003-2008 /
MK 5, Golf 5, Golf V)
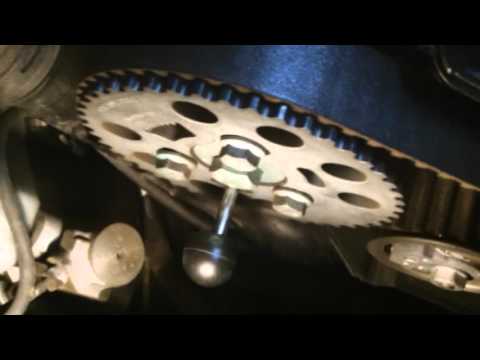
Here are the instructions on how to remove and replace the timing belt on a Volkswagen Golf 1.4 petrol, following these simple steps. First, lift the…
Volkswagen Golf
(2003-2008 /
MK 5, Golf 5, Golf V)
If you want to tackle the replacement of the timing belt, it is absolutely essential to have good general mechanical knowledge and especially to have…
Other guides you may be interested in
|
How to Connect the Cables to the Battery of the Citroen Xsara Picasso?
In this tutorial, you will see how to connect the cables to the battery of the Citroen Xsara Picasso, useful if you need to recharge it or perform an emergency start. First, ensure the key is not inserted, then open the bonnet and move to the front of the left headlamp. Next, locate the bolt just behind the filter box and connect the positive terminal clamp to it. Now you can connect the negative terminal to any point on the chassis, such as the indicated point. Once the operation is complete, ensure you disconnect the negative first and then the positive. by ScegliAuto More videos
|

|
For advertising on this site Write to info@scegliauto.com
ScegliAuto is not responsible for any inaccuracy of the data in the lists. To report any inaccuracy or your business (if you own the business in question), please write to info@scegliauto.com
Number of seconds to generate the page: 0.073
(c) ScegliAuto 2026 - info@scegliauto.com - Privacy policy VAT number: IT01247470535 |
