
|
Do it yourself
| |||
| ||||


How to repair the lighting and ventilation unit of the Volkswagen Golf Cabrio III
Model: Volkswagen Golf
Golf III, MK 3, Golf 3
- Years 1991-1997
On the Golf Cabrio III, the lighting of the climate control panel can become dim or completely fail. The most common cause is a burnt-out bulb, but the plastic diffuser (light guide) also degrades over time, becoming fragile and breaking. To repair it, remove the control panel and disassemble the light diffuser. In the video, the YouTuber replaced the original bulb with four LEDs and a resistor, soldering them directly to the original connector. It is crucial to respect the polarity and check the voltage. The broken diffuser was repaired with glue, but the more durable solution is to replace it with a new piece. Once soldering is complete, reassemble the panel and test its operation. The light may not be uniform, but it will certainly be more visible and reliable.
Posted on 26 July 2026 by ScegliAuto
Video tutorial
Related tutorials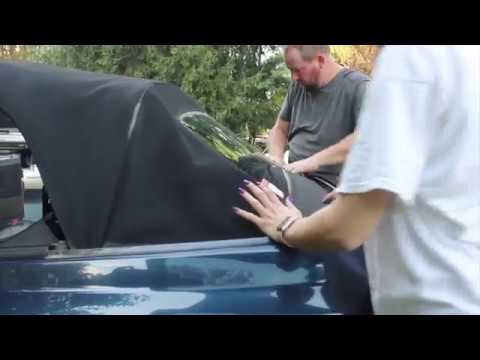
Volkswagen Golf
(1991-1997 /
Golf III, MK 3, Golf 3)
In this video, learn how to disassemble and replace the hood cover on a third-generation Volkswagen Golf Cabriolet, following the instructions below.…

Volkswagen Golf
(1991-1997 /
Golf III, MK 3, Golf 3)
In order to replace the convertible top of the Volkswagen Golf Cabrio, you need to open the rear hatch so that you can locate the screws that secure …
Volkswagen Golf
(2008-2012 /
MK 6, Golf VI, Golf 6, 5K1)
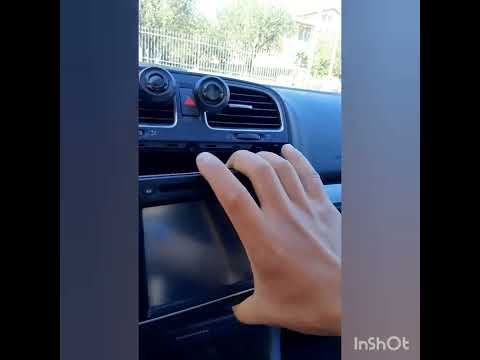
In today's video, we will see how to remove the original car radio from a sixth-generation Volkswagen Golf. Specifically, a new double DIN unit will …
Other guides you may be interested in |
Frequently Asked QuestionsReplacing the Heater Radiator of the Fiat Punto
Today, we will look at the instructions that will allow you to disassemble and replace the heater radiator of the Fiat Punto. To access the heater radiator, it will be necessary to remove the entire dashboard; first, remove the instrument cluster and then the steering wheel, taking off all the controls from the central instrumentation and then the glove compartment, as illustrated in the video. After this, you will be able to access the heater radiator by disconnecting the coolant pipes and unscrewing the screws to remove it and replace it with the new one, reassembling everything! by ScegliAuto More videos
|
|
For advertising on this site Write to info@scegliauto.com
ScegliAuto is not responsible for any inaccuracy of the data in the lists. To report any inaccuracy or your business (if you own the business in question), please write to info@scegliauto.com
Number of seconds to generate the page: 0.089
(c) ScegliAuto 2026 - info@scegliauto.com - Privacy policy VAT number: IT01247470535 |
