
|
Do it yourself
| |||
| ||||


Diagram and access to the internal fuses of the Volkswagen Golf
Model: Volkswagen Golf
Golf 8, MK 8, Golf Viii
- Years 2019-2026
In this guide, we will discover information regarding the diagram and positioning of the internal fuse box of the Volkswagen Golf. First, open the front door of the vehicle and begin removing the plastic cover located below the indicator stalk; inside you will find the fuse box, as shown in the video. At this point, refer to the vehicle's instruction and maintenance manual for the diagram, which contains tables with codes and amperages; here you will find all the codes and amperages useful for any replacements.
Posted on 29 July 2026 by ScegliAuto
Video tutorial
Related tutorials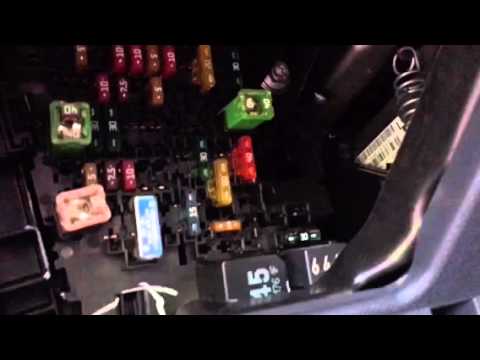
Volkswagen Golf
(2012-2019 /
Golf VII, MK 7, Golf 7)
The steps in this guide will show you the positioning and how to find the diagram and layout of the internal fuses of the Volkswagen Golf. First, ope…

Volkswagen Golf
(1997-2003 /
Golf IV, MK 4, Golf 4)
In a few simple steps, we will discover the location and diagram of the internal fuse box on a Volkswagen Golf. First, get into the cabin and start r…

Volkswagen Golf
(2003-2008 /
MK 5, Golf 5, Golf V)
Today we will look at the information regarding the location and diagram of the internal fuse box for the Volkswagen Golf. First, open the driver's s…
Other guides you may be interested in
|
Frequently Asked QuestionsHow to reset the tyre pressure warning light on a Hyundai Tucson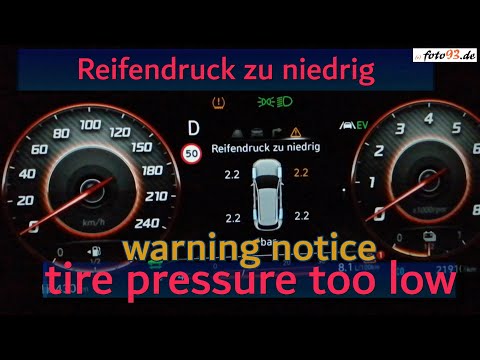
Below are the instructions to reset the tyre pressure warning light (TPMS) on a Hyundai Tucson. First, get into the vehicle and turn on the instrument cluster; then navigate to the vehicle settings until you reach the tyre pressure monitor, identifying the tyre with incorrect pressure. At this point, restore all tyre pressures according to the specifications indicated on the label; this will reset the TPMS and the warning light will be cleared from the instrument cluster! by ScegliAuto More videos
|
|
For advertising on this site Write to info@scegliauto.com
ScegliAuto is not responsible for any inaccuracy of the data in the lists. To report any inaccuracy or your business (if you own the business in question), please write to info@scegliauto.com
Number of seconds to generate the page: 0.147
(c) ScegliAuto 2026 - info@scegliauto.com - Privacy policy VAT number: IT01247470535 |
