
|
Do it yourself
| |||
| ||||


Location and Diagram of the Internal Fuses for the Volkswagen Golf
Model: Volkswagen Golf
MK 5, Golf 5, Golf V
- Years 2003-2008
Today we will look at the information regarding the location and diagram of the internal fuse box for the Volkswagen Golf. First, open the driver's side front door and begin removing the plastic cover located on the side of the dashboard, prying it off at the edges; inside, you will find the fuse box and the sheet containing the diagram and details of the fuses, as shown in the video. The fuse diagram is also present in the vehicle's user manual, allowing you to replace any blown fuses (always respecting the amperages).
Posted on 20 April 2026 by ScegliAuto
Video tutorial
Related tutorials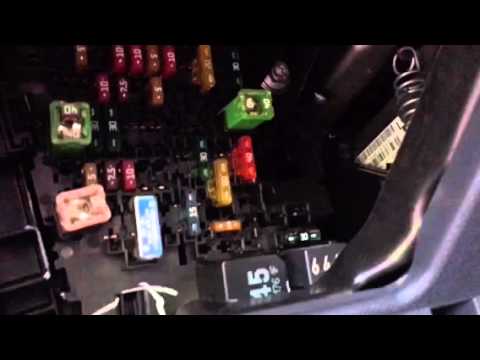
Volkswagen Golf
(2012-2019 /
Golf VII, MK 7, Golf 7)
The steps in this guide will show you the positioning and how to find the diagram and layout of the internal fuses of the Volkswagen Golf. First, ope…

Volkswagen Golf
(2003-2008 /
MK 5, Golf 5, Golf V)
This brief and simple guide will show us the diagram and positioning of the internal fuses of the Volkswagen Golf. First, we open the front door of t…

Volkswagen Golf
(2003-2008 /
MK 5, Golf 5, Golf V)
The following steps will show us the positioning of the internal fuse box of the Volkswagen Golf, also including the fuse diagram and chart. First, w…
Other guides you may be interested in
|
Frequently Asked QuestionsHow to Replace the External Wing Mirror on a Ford C MAX
In the event of a breakage, it will be necessary to replace the external wing mirror on the 2011 Ford C MAX. This operation is easily performed independently. Start by removing the internal cover of the mirror with a plastic lever. Then, use a socket wrench to remove the securing pins. Once the pins are removed, you can take off the mirror, but not before disconnecting the power connectors. Then proceed to fit the new mirror. First, connect the connectors and then secure the mirror to its housing with the pins. Refit the plastic cover and test the operation of the electric mirror using the controls. by ScegliAuto More videos
|
|
For advertising on this site Write to info@scegliauto.com
ScegliAuto is not responsible for any inaccuracy of the data in the lists. To report any inaccuracy or your business (if you own the business in question), please write to info@scegliauto.com
Number of seconds to generate the page: 0.185
(c) ScegliAuto 2026 - info@scegliauto.com - Privacy policy VAT number: IT01247470535 |
