
|
Do it yourself
| |||
| ||||


How to Find and Manage Light Settings in the Volkswagen Golf
Model: Volkswagen Golf
Golf VII, MK 7, Golf 7
- Years 2012-2019
In the Volkswagen Golf, light settings are managed directly from the central screen. With the ignition on, access the vehicle menu using the physical CAR button next to the display and open the light settings section, where both automatic functions and internal lighting adjustments are gathered. In this menu, on the Volkswagen Golf VII, there is a section dedicated to light assistance: here you will find options such as switch-on time, automatic headlight control in specific conditions (e.g., rain), convenience turn signal, and travel mode, useful for adapting the beam for driving in countries with opposite traffic. Scrolling down, the Volkswagen Golf has a section for interior lighting, where you can adjust the cabin lights. The video shows that from here you can adjust the lighting of instruments and controls, door background lighting, and footwell lighting, with a level adjustable via slider/percentage. Finally, in the light settings of the Volkswagen Golf, you will find the Coming/Leaving Home function, which activates the lights when you arrive or leave the car.
Posted on 13 August 2026 by ScegliAuto
Video tutorial
Related tutorials
Volkswagen Golf
(2012-2019 /
Golf VII, MK 7, Golf 7)
On the Volkswagen Golf VII, the climate control menu opens from the central display. Locate the touch panel in the centre of the dashboard and press …
Volkswagen Golf
(2008-2012 /
MK 6, Golf VI, Golf 6, 5K1)
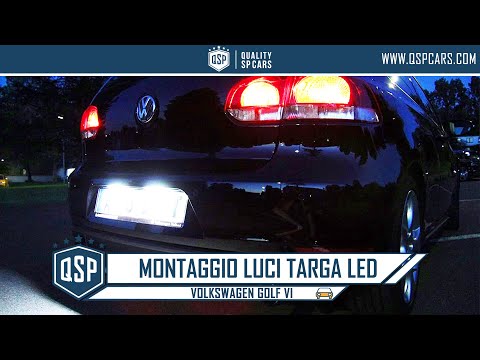
To replace the number plate lights with LED ones on the Volkswagen Golf 6, start by unclipping the light unit from the bumper of the car, disconnect …

Volkswagen Golf
(2008-2012 /
MK 6, Golf VI, Golf 6, 5K1)
By default, in most cars, we find the function of daytime running lights active, so when the instrument panel is turned on they turn on without havin…
Other guides you may be interested in
|
Frequently Asked QuestionsHow to Connect the Cables to the Battery of the Citroen Xsara Picasso?
In this tutorial, you will see how to connect the cables to the battery of the Citroen Xsara Picasso, useful if you need to recharge it or perform an emergency start. First, ensure the key is not inserted, then open the bonnet and move to the front of the left headlamp. Next, locate the bolt just behind the filter box and connect the positive terminal clamp to it. Now you can connect the negative terminal to any point on the chassis, such as the indicated point. Once the operation is complete, ensure you disconnect the negative first and then the positive. by ScegliAuto More videos
|
|
For advertising on this site Write to info@scegliauto.com
ScegliAuto is not responsible for any inaccuracy of the data in the lists. To report any inaccuracy or your business (if you own the business in question), please write to info@scegliauto.com
Number of seconds to generate the page: 0.066
(c) ScegliAuto 2026 - info@scegliauto.com - Privacy policy VAT number: IT01247470535 |
