
|
Do it yourself
| |||
| ||||


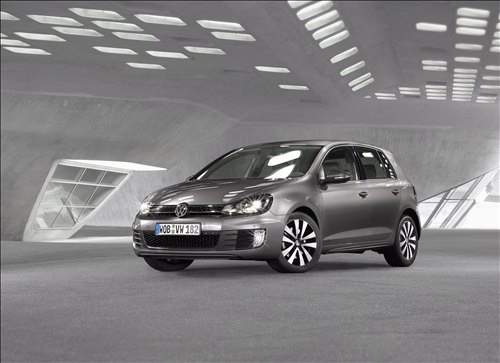
How to Remove the Window Switch Panel from a Volkswagen Vehicle
Model: Volkswagen Golf
- Years:
2008, 2009, 2010, 2011, 2012
Video tutorial
Removing the window switch panel on a Volkswagen depends on the model and side. Quick method (without removing the panel): on some models (e.g., Polo, and on the passenger side of some Golf 7), you can lever with a plastic tool from the front of the switch panel, pushing the retaining tab and popping the lock upwards. Then disconnect the connector. Method with panel removal (safer on Golf 7 driver side): the switch panel is integrated into the armrest, which is fixed to the panel. You need to remove the internal handle, unscrew the Torx T30 screws (bottom and side), release the clips of the door panel, disconnect the connectors (window lifter, speaker, handle) and only then remove the switch panel from the panel. Be careful: on the driver side of the Golf 7, the connector for the switch panel is difficult to detach, and if you pull too hard, you risk deforming or breaking the plastic support. For reassembly, follow the reverse order. If you are unsure, it is better to remove the panel: it takes a few extra minutes but avoids damage to the plastics.
Posted on 10 November 2026 by ScegliAuto
Related tutorials
Volkswagen Golf
(2008-2012 /
Golf 6, MK 6, 5K1, Golf VI)
Today we will see the instructions that will allow us to disassemble and replace the window switch panel of the Volkswagen Golf. First, we open the f…

Volkswagen Golf
(2008-2012 /
Golf 6, MK 6, 5K1, Golf VI)
These brief steps will show you how to remove and replace the window switch panel or the individual switch on a Volkswagen Golf. First, open the fron…

Volkswagen Golf
(2003-2008 /
Golf 5, MK 5, Golf V)
In today's video tutorial, you will see the guide that will allow you to dismantle and replace the window switches on a Volkswagen Golf, as well as t…
Other guides you may be interested in
|
How to reset the Service light on a 2019 Jeep Renegade?
The Service light, depicted as a yellow spanner, illuminates as scheduled to remind the driver that it is time for scheduled maintenance. This means that the set mileage has been reached, or the expected time has passed. The procedure involves turning on the instrument cluster, pressing the accelerator three times, and then turning off the ignition. After this, keep the brake pressed, turn the ignition back on, and then turn it off again. Upon the next ignition, you will notice that the light has been reset. by ScegliAuto More videos
|
|
For advertising on this site Write to info@scegliauto.com
ScegliAuto is not responsible for any inaccuracy of the data in the lists. To report any inaccuracy or your business (if you own the business in question), please write to info@scegliauto.com
Number of seconds to generate the page: 0.031
(c) ScegliAuto 2026 - info@scegliauto.com - Privacy policy VAT number: IT01247470535 |
