
|
Do it yourself
| |||
| ||||


Removing Door Panel and Window on Volkswagen Multivan
Model: Volkswagen Multivan
T5, MK 2
- Years 2003-2015
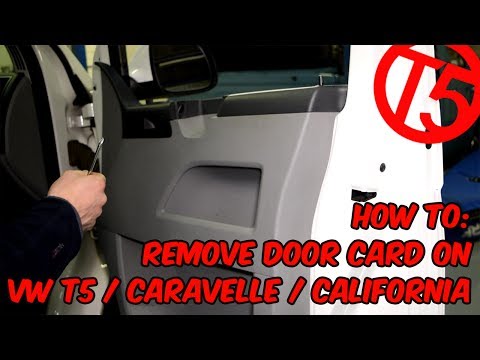
Remove the rubber from the central area of the door, and unscrew the now exposed screw. Using a plastic lever, detach the upper plastic trim with the window switch, and disconnect it. Unscrew the two corresponding screws. At this point, also remove the three screws located at the bottom of the door. All screws are Torx T20 except for the two for the window, which are T30. With the same lever, you can now remove the panel, being careful of the two lock connections (which obviously need to be disconnected). As shown in the video, disconnect all connections and unscrew the four remaining screws inside the door to remove the window.
Updated on 3 May 2026 by ScegliAuto
Video tutorial
Related tutorials
Volkswagen Multivan
(2021-2026 /
MK 4, T7)
Removing the sliding door panel of the Volkswagen Multivan is a simple operation to be carried out independently. The material we need to remove the …
Volkswagen Multivan
(2003-2015 /
T5, MK 2)
This guide shows how to remove the door panel on a Volkswagen T5 Multivan Mk1. The first step is to remove the cover of the door handle using a plast…

Volkswagen Multivan
(2021-2026 /
MK 4, T7)
In order to reset the tire pressure warning light on the Volkswagen Multivan, you first need to inflate the tires to the optimal pressure value: this…
Other guides you may be interested in
|
How to Connect the Cables to the Battery of the Citroen Xsara Picasso?
In this tutorial, you will see how to connect the cables to the battery of the Citroen Xsara Picasso, useful if you need to recharge it or perform an emergency start. First, ensure the key is not inserted, then open the bonnet and move to the front of the left headlamp. Next, locate the bolt just behind the filter box and connect the positive terminal clamp to it. Now you can connect the negative terminal to any point on the chassis, such as the indicated point. Once the operation is complete, ensure you disconnect the negative first and then the positive. by ScegliAuto More videos
|
|
For advertising on this site Write to info@scegliauto.com
ScegliAuto is not responsible for any inaccuracy of the data in the lists. To report any inaccuracy or your business (if you own the business in question), please write to info@scegliauto.com
Number of seconds to generate the page: 0.123
(c) ScegliAuto 2026 - info@scegliauto.com - Privacy policy VAT number: IT01247470535 |
