
|
Do it yourself
| |||
| ||||


How to Replace the Poly-V Belt on a Volkswagen Polo
Model: Volkswagen Polo
Polo 5, Polo V, MK 5, MK V, 6R
- Years 2009-2017
In this video tutorial, you can see how to replace the Poly-V belt on a Volkswagen Polo by following some essential steps: the Poly-V belt has triangular-section ribs arranged along the length of the belt. Thanks to its reduced thickness, the belt is flexible and can wrap around very small diameters. The first thing to do is to lift the bonnet and secure it with the appropriate prop; using a 16mm spanner, pull the tensioner pulley of the Poly-V belt sideways and remove the Poly belt from its position; then, return the tensioner pulley to its initial position; now you can install the new Poly-V belt.
Updated on 12 June 2026 by ScegliAuto
Video tutorial
Related tutorials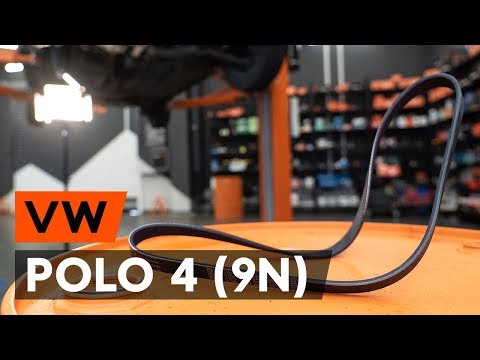
Volkswagen Polo
(2001-2009 /
MK IV, Polo IV, Polo 4, MK 4, 9N)
To replace the auxiliary belt on a Volkswagen Polo IV: First, lift the vehicle using a jack and two axle stands. It’s always best not to rely too muc…

Volkswagen Polo
(2009-2017 /
Polo 5, Polo V, MK 5, MK V, 6R)
Hello, today you will replace the timing belt on your Volkswagen Polo. Start by positioning the car on a flat surface and ensure the engine is cold. …
Volkswagen Polo
(2001-2009 /
MK IV, Polo IV, Polo 4, MK 4, 9N)
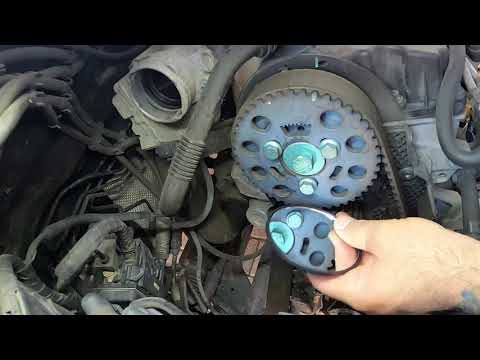
In this brief and simple guide, follow the steps to remove and replace the timing belt on a Volkswagen Polo 1.4 TDI. Generally, the timing belt on th…
Other guides you may be interested in
|
Frequently Asked QuestionsHow to Connect the Cables to the Battery of the Citroen Xsara Picasso?
In this tutorial, you will see how to connect the cables to the battery of the Citroen Xsara Picasso, useful if you need to recharge it or perform an emergency start. First, ensure the key is not inserted, then open the bonnet and move to the front of the left headlamp. Next, locate the bolt just behind the filter box and connect the positive terminal clamp to it. Now you can connect the negative terminal to any point on the chassis, such as the indicated point. Once the operation is complete, ensure you disconnect the negative first and then the positive. by ScegliAuto More videos
|

|
For advertising on this site Write to info@scegliauto.com
ScegliAuto is not responsible for any inaccuracy of the data in the lists. To report any inaccuracy or your business (if you own the business in question), please write to info@scegliauto.com
Number of seconds to generate the page: 0.068
(c) ScegliAuto 2026 - info@scegliauto.com - Privacy policy VAT number: IT01247470535 |
