
|
Do it yourself
| |||
| ||||


How to replace the third brake light on the Volkswagen Polo 3
Model: Volkswagen Polo
6N, Polo III, MK III, Polo 3, MK 3
- Years:
1994, 1995, 1996, 1997, 1998, 1999, 2000, 2001, 2002, 2003
Video tutorial
Replacing the third brake light of the Volkswagen Polo is a simple and quick operation to be carried out independently. To perform the replacement, we need to open the trunk and remove the plastic cover above the rear window in order to access the screws that hold the light in place. We unscrew the two screws and after closing the trunk, we remove the light by disconnecting it from the connector. We replace the LED strip inside the light and after modifying the wire connection, we mount the light back into its housing by following the reverse procedure. We connect the light to the connector and insert it inside. We screw in the locking screws and mount the upper cover of the rear window.
Posted on 7 June 2025 by ScegliAuto
Related tutorials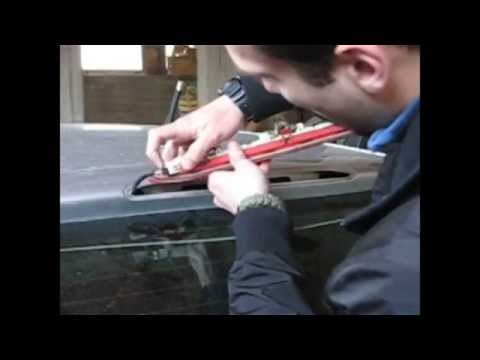
Volkswagen Polo
(2001-2009 /
Polo IV, MK IV, Polo 4, MK 4, 9N)
In this guide, learn how to remove the third brake light on a Volkswagen Polo. First, open the boot lid: then, unclip the plastic cover located at th…

Volkswagen Polo
(2001-2009 /
Polo IV, MK IV, Polo 4, MK 4, 9N)
In this video tutorial, learn how to disassemble and replace the third brake light bulbs on the Volkswagen Polo 9N2, fourth generation, in simple and…

Volkswagen Polo
(2001-2009 /
Polo IV, MK IV, Polo 4, MK 4, 9N)
Today, in this video tutorial, you'll learn how to remove the third brake light (centre light) on a Volkswagen Polo. First, open the boot lid and rem…
ScegliAuto offers an extensive international collection of automotive tutorials available in 12 languages. Each guide combines instructional videos with original explanations written by experienced human editors, along with information about the car models covered.
Other guides you may be interested in
|
How to Set the Time and Date on the Toyota Yaris
In just a few simple steps, you will learn how to set the date and time on the Toyota Yaris by following the instructions below. First, get inside the vehicle and turn on the instrument panel; then go to the vehicle settings from the central display and select the clock option, as shown in the video. From here, you can set the time by adjusting the hours and minutes; if necessary, set the date and both formats, including automatic time via GPS, and finally exit the settings menu to save the changes made. by ScegliAuto More videos
|
|
For advertising on this site Write to info@scegliauto.com
ScegliAuto is not responsible for any inaccuracy of the data in the lists. To report any inaccuracy or your business (if you own the business in question), please write to info@scegliauto.com
Number of seconds to generate the page: 0.019
(c) ScegliAuto 2026 - info@scegliauto.com - Privacy policy - About us VAT number: IT01247470535 |
