
|
Do it yourself
| |||
| ||||


How to Install the Electric Window Regulator on the Volkswagen Polo 4?
Model: Volkswagen Polo
MK IV, Polo IV, Polo 4, MK 4, 9N
- Years 2001-2009
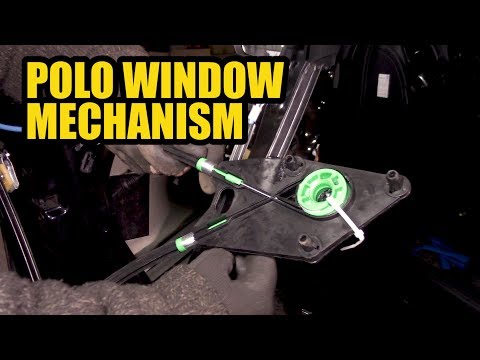
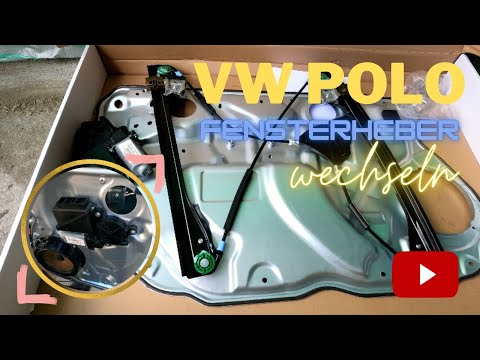
The electric window regulator for the Volkswagen Polo 4 is installed on the inner metal panel of the door, which must be removed and taken away from its original position. Place it on a table for more comfortable working. Take the window regulator structure and position it as shown in the video, aligning the panel holes with the structure bolts, then insert the nuts and tighten them with a spanner. Do the same with the window regulator motor, securing it with the appropriate screws. Complete the job by connecting the electrical plug and reinstalling the metal panel back onto the door.
Updated on 11 August 2026 by ScegliAuto
Video tutorial
Related tutorials
Volkswagen Polo
(1994-2003 /
MK III, Polo III, Polo 3, MK 3, 6N)
To replace the window regulator on a Volkswagen Polo, you need to completely remove the door panel from its housing: pry off the trim around the hand…
Volkswagen Polo
(2009-2017 /
Polo 5, Polo V, MK 5, MK V, 6R)
To replace the front window regulator in the Volkswagen Polo, first remove the corresponding door panel: to do this, pry with an object like a screwd…
Volkswagen Polo
(2001-2009 /
MK IV, Polo IV, Polo 4, MK 4, 9N)
In this guide, we will go through the main steps to remove and replace the front window regulator mechanism on the Volkswagen Polo. First, open the f…
Other guides you may be interested in
|
How to Connect the Cables to the Battery of the Citroen Xsara Picasso?
In this tutorial, you will see how to connect the cables to the battery of the Citroen Xsara Picasso, useful if you need to recharge it or perform an emergency start. First, ensure the key is not inserted, then open the bonnet and move to the front of the left headlamp. Next, locate the bolt just behind the filter box and connect the positive terminal clamp to it. Now you can connect the negative terminal to any point on the chassis, such as the indicated point. Once the operation is complete, ensure you disconnect the negative first and then the positive. by ScegliAuto More videos
|
|
For advertising on this site Write to info@scegliauto.com
ScegliAuto is not responsible for any inaccuracy of the data in the lists. To report any inaccuracy or your business (if you own the business in question), please write to info@scegliauto.com
Number of seconds to generate the page: 0.054
(c) ScegliAuto 2026 - info@scegliauto.com - Privacy policy VAT number: IT01247470535 |
