
|
Do it yourself
| |||
| ||||


Model: Yamaha Mio 125
To replace the front headlight of the Yamaha Mio 125, you need to loosen the screws that fix the optical group to its housing: to do this, you will first need to remove the panels that make up the front fairing. The screws that fix these panels are located right under the optical group and once loosened, it will be possible to unscrew those that fix the headlight: this can be removed from its seat by disconnecting the optical group and inserting the new headlight. This can now be connected and fixed properly, checking that everything works.
Posted on 29 September 2025 by ScegliAuto
Video tutorial
Related tutorials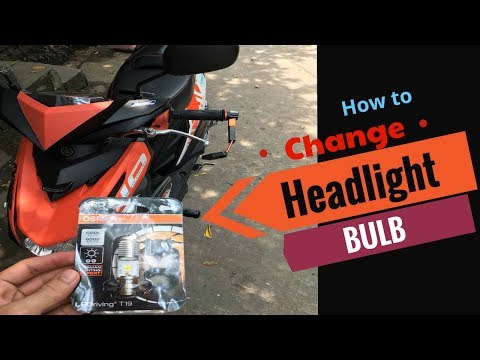
Mio 125
This brief guide will show you how to remove and replace the headlight bulb on the Yamaha Mio 125 scooter in simple and quick steps. First, place the…
Mio 125
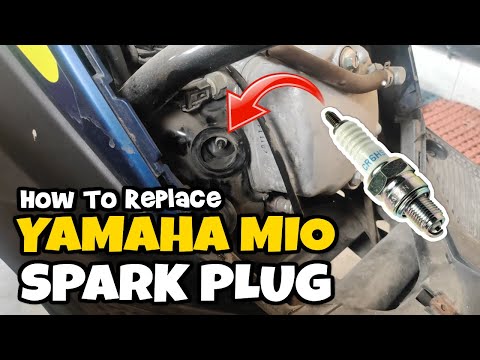
In this tutorial we can see how to access the spark plug in the Yamaha Mio 125 scooter and how to proceed in case we need to replace it. As shown, th…
|
Changing the Oil and Filter on the Kawasaki Versys
Here’s how to change the oil and filter on the Kawasaki Versys. Warm up the engine for a few minutes, place the motorcycle on the centre stand, open the filler cap, and remove the drain plug underneath the engine. Place a catch basin under the oil sump, unscrew the drain plug, and let the oil drain out. Unscrew the oil filter and let all the old oil drain out. Install a new filter and tighten it with the appropriate tool. Pour half a glass of new oil into the filler cap and wait for it to flow out of the drain hole, after which replace the plug. Fill with approximately 1.8 litres of new oil, take it for a short ride to circulate the oil in the engine, stop the engine, and check the level through the designated window. Top up if necessary. by ScegliAuto More videos
|
|
For advertising on this site Write to info@scegliauto.com
ScegliAuto is not responsible for any inaccuracy of the data in the lists. To report any inaccuracy or your business (if you own the business in question), please write to info@scegliauto.com
Number of seconds to generate the page: 0.114
(c) ScegliAuto 2026 - info@scegliauto.com - Privacy policy VAT number: IT01247470535 |
