
|
Do it yourself
| |||
| ||||


Model: Yamaha Mio 125
This brief guide will show you how to remove and replace the headlight bulb on the Yamaha Mio 125 scooter in simple and quick steps. First, place the scooter on the centre stand and begin to remove the front headlight; to do this, unscrew the fastening screws located at the bottom and disconnect the electrical connector of the light found at the back, as illustrated in the video. At this point, remove and replace the bulb with a new one of the correct type and with the same fitting; finally, reassemble the front headlight with its front fairing!
Updated on 23 September 2026 by ScegliAuto
Video tutorial
Related tutorials
Mio 125
To replace the front headlight of the Yamaha Mio 125, you need to loosen the screws that fix the optical group to its housing: to do this, you will f…
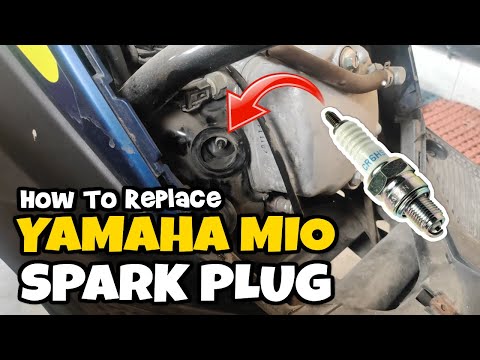
Mio 125
In this tutorial we can see how to access the spark plug in the Yamaha Mio 125 scooter and how to proceed in case we need to replace it. As shown, th…
|
How to replace the engine oil in the Kawasaki Versys 1000?
As we can see in this tutorial, replacing the motor oil in the Kawasaki Versys 1000 is an extremely simple and fast operation. First of all, make sure that the engine is cool enough, then position a container under the motorcycle and, using a socket wrench, unscrew the drain plug. Wait for all the oil in the system to completely drain out, remove the lower front cover and unscrew the old filter. At this point, we can tighten the replacement, reassemble everything and pour in the new oil through the appropriate hole. by ScegliAuto More videos
|
|
For advertising on this site Write to info@scegliauto.com
ScegliAuto is not responsible for any inaccuracy of the data in the lists. To report any inaccuracy or your business (if you own the business in question), please write to info@scegliauto.com
Number of seconds to generate the page: 0.008
(c) ScegliAuto 2026 - info@scegliauto.com - Privacy policy VAT number: IT01247470535 |
