
|
Do it yourself
| |||
| ||||


Model: Yamaha Xt250
Remove the fairing around the headlamp by unscrewing the side and front screws, as shown in the video. Next, unscrew the screws securing the headlamp itself, allowing it to come out of its housing. At this point, disconnect the attached cable and move the headlamp to a workbench. Remove or shift the lower protective rubber and take off the lower circular part of the bulb, then pull out the bulb itself. Insert the new part you purchased and position the lower circular support that was just removed. Close the rubber, connect the bulb, and secure the headlamp first, then the fairing.
Updated on 21 April 2026 by ScegliAuto
Video tutorial
Related tutorials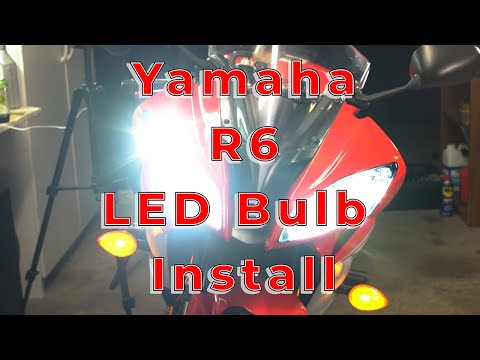
Yamaha R 6
Replacing the headlight bulbs on the Yamaha R6, as shown in this tutorial, is an extremely simple and quick task. First, ensure the key is not insert…
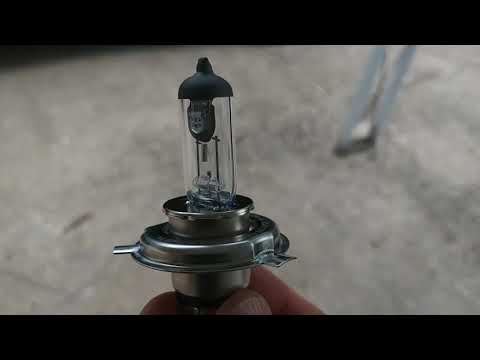
Fz 07
To replace the headlight bulb on a Yamaha FZ-07, loosen the four screws securing the front headlight to detach it from its housing. After removing th…
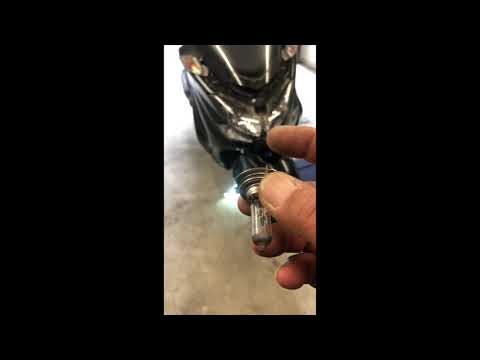
Majesty 400
Before you can start, position your Yamaha Majesty 400 on the centre stand. Begin by turning the handlebars to the left. Next, unclip and remove the …
|
How to Replace the Battery of the Kymco Agility 125?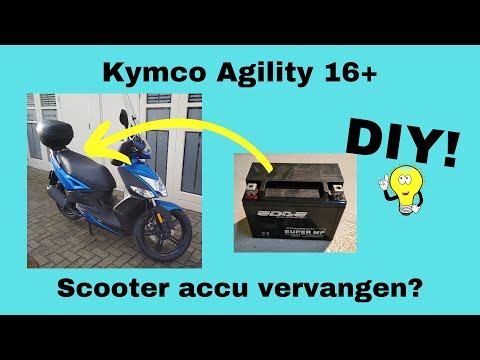
To replace the battery of the Kymco Agility 125, lift the seat to access the compartment underneath. At the rear of the under-seat compartment, you will find the battery under the corresponding panel. By unscrewing the screws that secure the panel, you can access the battery underneath, which must be freed from the corresponding securing screws and the appropriate power cables. Once the device is free, insert the new one, connecting and securing it properly, and cover everything with the panel. by ScegliAuto More videos
|
|
For advertising on this site Write to info@scegliauto.com
ScegliAuto is not responsible for any inaccuracy of the data in the lists. To report any inaccuracy or your business (if you own the business in question), please write to info@scegliauto.com
Number of seconds to generate the page: 0.006
(c) ScegliAuto 2026 - info@scegliauto.com - Privacy policy VAT number: IT01247470535 |
