
|
Do it yourself
| |||
| ||||


Model: Yamaha Aerox
To replace the headlight on the Yamaha Aerox, loosen the two screws located under the handlebars to completely remove the front fairing. Attached to it is the cover containing the bulbs: by loosening its fixing screws, the cover can be removed and the bulbs taken out from their respective housings. After disconnecting the connectors and connecting the new bulbs, insert them into their slots and refit the cover to the front fairing. Finally, reinstall the front fairing.
Updated on 27 April 2026 by ScegliAuto
Video tutorial
Related tutorials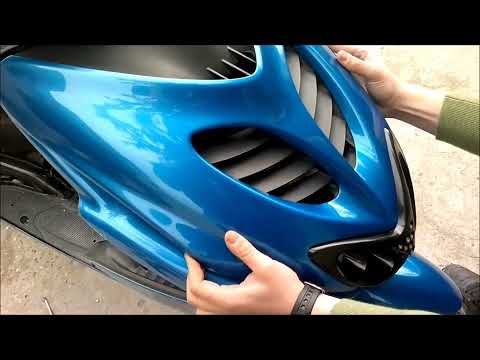
Aerox
Before you can start, head to the front side of your Yamaha Aerox scooter. Begin by unscrewing and removing the screws that secure the front fairing …

Aerox
Here’s a guide to help you remove and replace the headlight bulb or the entire headlight unit on the Yamaha Aerox 155 scooter. First, place your scoo…

Aerox
In this tutorial, we will see how to replace the number plate light bulb on the Yamaha Aerox scooter, a very simple and quick operation. Before proce…
|
Changing the Oil and Filter on the Kawasaki Versys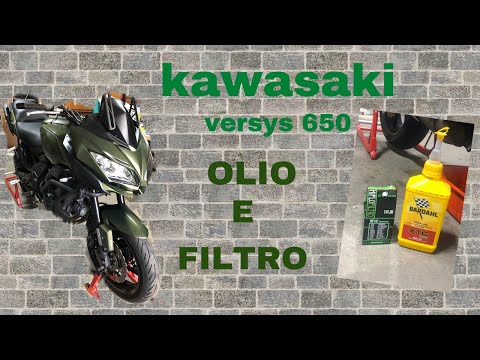
Here’s how to change the oil and filter on the Kawasaki Versys. Warm up the engine for a few minutes, place the motorcycle on the centre stand, open the filler cap, and remove the drain plug underneath the engine. Place a catch basin under the oil sump, unscrew the drain plug, and let the oil drain out. Unscrew the oil filter and let all the old oil drain out. Install a new filter and tighten it with the appropriate tool. Pour half a glass of new oil into the filler cap and wait for it to flow out of the drain hole, after which replace the plug. Fill with approximately 1.8 litres of new oil, take it for a short ride to circulate the oil in the engine, stop the engine, and check the level through the designated window. Top up if necessary. by ScegliAuto More videos
|
|
For advertising on this site Write to info@scegliauto.com
ScegliAuto is not responsible for any inaccuracy of the data in the lists. To report any inaccuracy or your business (if you own the business in question), please write to info@scegliauto.com
Number of seconds to generate the page: 0.068
(c) ScegliAuto 2026 - info@scegliauto.com - Privacy policy VAT number: IT01247470535 |
