
|
Do it yourself
| |||
| ||||


Model: Yamaha Aerox
Before you can start, head to the front side of your Yamaha Aerox scooter. Begin by unscrewing and removing the screws that secure the front fairing to the frame. Next, disconnect the retaining clips. Once you have removed the securing screws, the front fairing will be free. At this point, disengage and extract the front fairing from its housing. After completing this step, you can finally remove the front fairing of your Yamaha Aerox scooter, successfully finishing the disassembly.
Updated on 27 April 2026 by ScegliAuto
Video tutorial
Related tutorials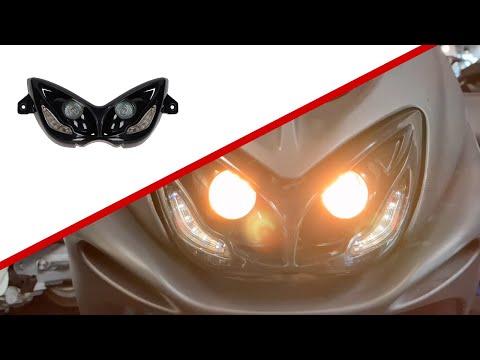
Aerox
To replace the headlight on the Yamaha Aerox, loosen the two screws located under the handlebars to completely remove the front fairing. Attached to …

Aerox
Here’s a guide to help you remove and replace the headlight bulb or the entire headlight unit on the Yamaha Aerox 155 scooter. First, place your scoo…
Aerox
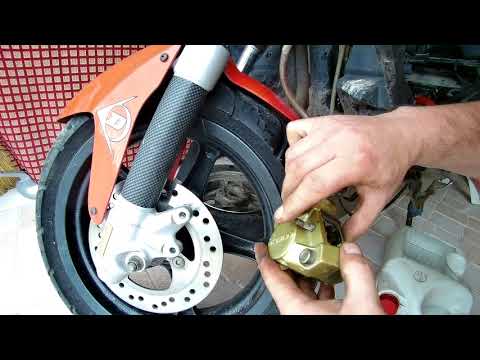
In this tutorial, you will learn how to remove and replace the front brake pads, which also applies to the rear pads, on the Yamaha Aerox R scooter. …
|
How to Reset the Oil Light on a Honda PCX 160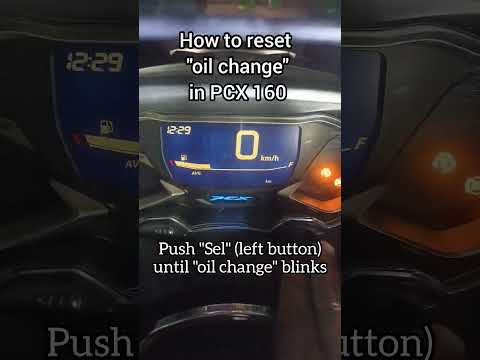
In this mini guide, discover the steps to manually reset the oil light on the central display of your Honda PCX 160. First, turn on the ignition with the key and press both the 'Sel' and 'Set' buttons located below it simultaneously. When the time starts to flash, hold 'Sel' until the oil indicator flashes, then press the 'Set' button once. To complete the reset, hold 'Sel' again until the operation is finished. by ScegliAuto More videos
|
|
For advertising on this site Write to info@scegliauto.com
ScegliAuto is not responsible for any inaccuracy of the data in the lists. To report any inaccuracy or your business (if you own the business in question), please write to info@scegliauto.com
Number of seconds to generate the page: 0.654
(c) ScegliAuto 2026 - info@scegliauto.com - Privacy policy VAT number: IT01247470535 |
