
|
Do it yourself
| |||
| ||||


|
Model: Yamaha Majesty 400
Before you can start, position your Yamaha Majesty 400 on the centre stand. Begin by turning the handlebars to the left. Next, unclip and remove the rear cover of the bulb, reaching it from the underside of the front fairing. Once done, unclip the clip that secures the bulb to the headlamp, and then disconnect the corresponding electrical connector. At this point, extract the bulb from the headlamp, completing the disassembly. To fit the new bulb, simply follow these steps in reverse, and you will have completed the replacement.
Updated on 5 May 2026 by ScegliAuto
Video tutorial
Related tutorials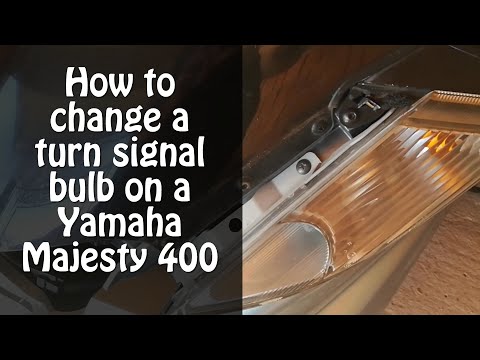
Majesty 400
In this video, you will see how to replace the front indicator bulb on a Yamaha Majesty. To perform this operation, first gather plastic trim tools: …

Majesty 400
How to replace the indicator bulb on a Yamaha Majesty 400? First, unscrew the two screws located under the plastic windscreen to remove it; if you en…
Majesty 400
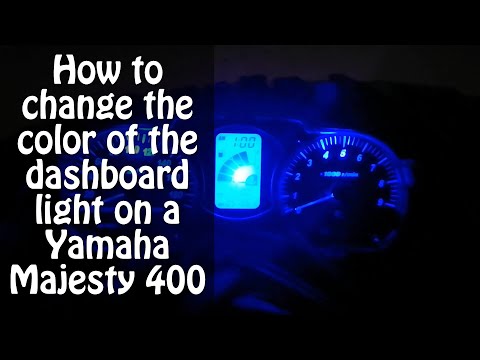
To replace the instrument cluster bulb on a Yamaha Majesty, first remove the front fairings located just below the windscreen. Once these fairings ar…
|
How to replace the coolant in the BMW S1000 R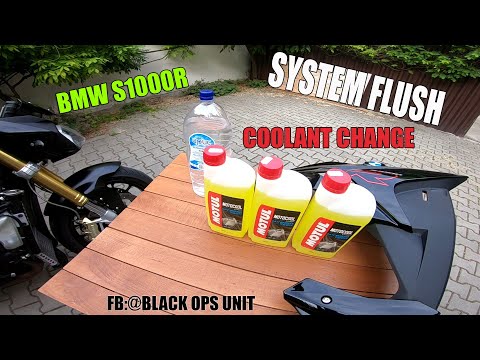
Today, we will see in this video tutorial how to bleed and replace the coolant in the BMW S1000 R motorcycle. First, place your motorcycle on a stand and start unscrewing the bleed screw located on the water pump casing, found at the bottom right; let the fluid drain into a container for about ten minutes. Now, unscrew the radiator cap and top up with the new coolant, the correct type for your radiator; fill it to the maximum level mark, starting the engine to circulate the fluid! by ScegliAuto More videos
|
|
For advertising on this site Write to info@scegliauto.com
ScegliAuto is not responsible for any inaccuracy of the data in the lists. To report any inaccuracy or your business (if you own the business in question), please write to info@scegliauto.com
Number of seconds to generate the page: 0.006
(c) ScegliAuto 2026 - info@scegliauto.com - Privacy policy VAT number: IT01247470535 |
