
|
Do it yourself
| |||
| ||||


|
Model: Yamaha Fjr 1300
To replace the headlight bulb on the Yamaha FJR 1300, loosen the screws securing the front fairing of the motorcycle so that it can be completely removed: once the front panel is detached, disconnect the connector inside the headlight assembly. You can then remove the inner panel and also take out the bulb from the headlight; insert the new replacement part into the headlight assembly, reconnect the connector, and close it with the panel.
Updated on 11 September 2026 by ScegliAuto
Video tutorial
Related tutorials
Fjr 1300
In order to replace the headlight bulb of the Yamaha FJR 1300, you need to access the inside of the front fairing, entering from the rear of the stee…

Fjr 1300
To replace the headlight bulb of the Yamaha FJR 1300, you need to loosen the screws that secure the front fairing of the motorcycle to its housing: o…

Fjr 1300
To replace the front headlamp bulb on a Yamaha FJR 1300, loosen the screws securing the front fairing to its housing. Once removed, unscrew the screw…
|
How to Replace the Front Bulb on the Honda SH 125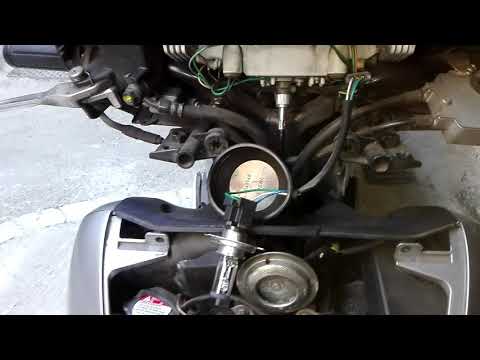
This tutorial explains the steps to replace the front headlamp bulb on the Honda SH 125. This is a very simple procedure. First, remove the front shield of the scooter to access the bulb replacement. To perform this first step, unscrew the lower screw and the two upper screws that secure the cover. At this point, the bulb will be clearly visible. Simply unscrew the bulb and insert a new one. It is recommended to carry out this procedure after ensuring that the bulb to be removed has cooled down. by ScegliAuto More videos
|
|
For advertising on this site Write to info@scegliauto.com
ScegliAuto is not responsible for any inaccuracy of the data in the lists. To report any inaccuracy or your business (if you own the business in question), please write to info@scegliauto.com
Number of seconds to generate the page: 0.109
(c) ScegliAuto 2026 - info@scegliauto.com - Privacy policy VAT number: IT01247470535 |
