
|
Do it yourself
| |||
| ||||


Model: Yamaha Rx 100
To change the engine oil of your Yamaha RX 100, follow these steps. First of all, place the bike on a flat surface and make sure the engine is cooled down. Locate the oil drain plug, usually located on the bottom side of the engine. Use an appropriate wrench to carefully unscrew the plug and let the old oil drain completely into a suitable container. Make sure there are no oil leaks after reinserting the drain plug. Next, find the oil fill plug located on one of the sides of the engine. Remove the plug and use a clean funnel to pour the recommended new oil into the engine. Periodically check the oil level through the sight window and make sure it is in the correct range. Once the filling is complete, securely replace the fill plug. Start the engine briefly to evenly distribute the new oil. Finally, check the oil level again and add more if necessary. These steps will ensure that you keep your RX 100 engine in optimal condition with fresh oil.
Posted on 20 July 2024 by ScegliAuto
Video tutorial
Related tutorials
Mt 15
To change the engine oil of a Yamaha MT 15, start by warming up the engine for a few minutes to make the oil more fluid. Park the motorcycle in an up…

Mt 03
To change the motor oil of a Yamaha MT-03, start by putting the motorcycle on a stable stand. Start the engine for a few minutes to warm up the oil, …
Xj600 Diversion
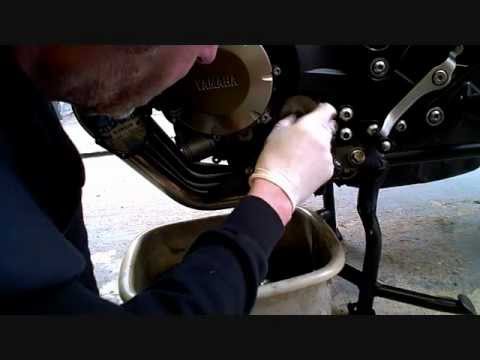
Do you want to change the engine oil on a Yamaha XJ6? Let's look at replacing the oil and filter. Keep the bike on the centre stand and remove the dr…
|
How to Replace the Front Headlight on the BMW F800GS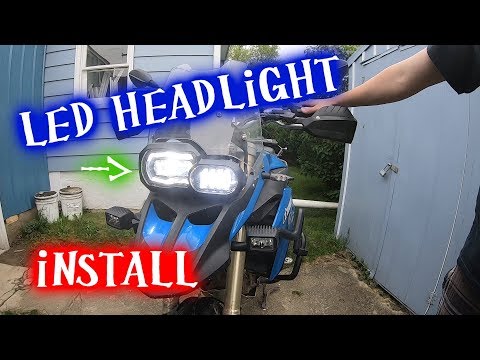
In this tutorial, you will see how to replace the front headlight on the BMW F800GS, an extremely simple and quick operation. First, ensure the key is not inserted for safety, then locate the power connector at the back of the headlamp and disconnect it by pressing the clip. Next, unscrew the two side bolts using a Torx T40 key, grasp the headlight and pull it away from the support. At this point, you can insert the replacement, tighten the two bolts, and reconnect the power connector. by ScegliAuto More videos
|
|
For advertising on this site Write to info@scegliauto.com
ScegliAuto is not responsible for any inaccuracy of the data in the lists. To report any inaccuracy or your business (if you own the business in question), please write to info@scegliauto.com
Number of seconds to generate the page: 0.009
(c) ScegliAuto 2026 - info@scegliauto.com - Privacy policy VAT number: IT01247470535 |
