
|
Do it yourself
| |||
| ||||


Model: Aprilia Rs 125
Unscrew the three bolts initially shown in the video that secure the front fairing: one is directed towards the rider and the other two are more lateral. Repeat the operation on the other side of the motorcycle, then unscrew the bolts that secure the side mirrors (two bolts per mirror). Remove the front fairing and access from the rear to replace the bulbs by moving the small metal clip that holds them in place and extracting them. Insert the new bulbs and replace the clip, then proceed in reverse order until the front part of the motorcycle is completely reassembled.
Updated on 3 May 2026 by ScegliAuto
Video tutorial
Related tutorials
Rs 125
In today’s tutorial video, you will learn how to remove and replace the front brake pads on an Aprilia RS 125. First, remove the plastic cover of the…

Rs 125
Discover the main steps in this guide that will allow you to remove and replace the front brake disc, as well as the pads, on the Aprilia RS 125. Fir…

Rs 125
Before you begin, position your Aprilia RS 125 vertically. Start by removing the rider's seat using the key. Next, dismantle the fuel tank by unscrew…
|
Setting the Time on a Yamaha Tracer 700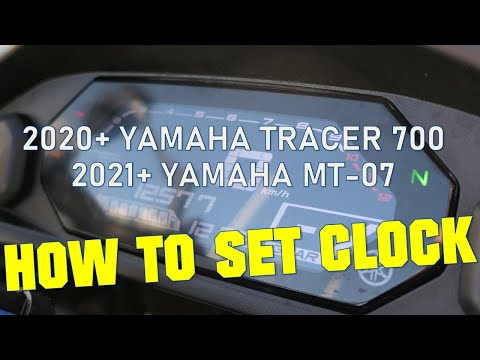
This brief tutorial shows how to adjust the time on the onboard computer of your Yamaha Tracer 700. Start by turning on the vehicle's ignition, then press the INFO button until you see ODO along with the total mileage. Next, press and hold the TRIP button until the hour display starts flashing, then press the TRIP button again to change the hour. After that, press the INFO button to switch to minutes and adjust them using the TRIP button. Finally, press the INFO button again to complete the operation. This tutorial also applies to the Yamaha MT-07. by ScegliAuto More videos
|
|
For advertising on this site Write to info@scegliauto.com
ScegliAuto is not responsible for any inaccuracy of the data in the lists. To report any inaccuracy or your business (if you own the business in question), please write to info@scegliauto.com
Number of seconds to generate the page: 0.007
(c) ScegliAuto 2026 - info@scegliauto.com - Privacy policy VAT number: IT01247470535 |
