
|
Do it yourself
| |||
| ||||


How to replace the headlight bulb of an Audi A3?
Model: Audi A3
MK 2, 8P
- Years 2003-2013
To replace the headlight bulb of an Audi A3, start by turning off the engine and making sure the instrument panel is off. Open the hood and locate the back of the headlight where you want to replace the bulb. It may be necessary to remove a plastic protective cover to access the bulb. This cover is usually secured with hooks or clips, so remove it carefully. Once you have uncovered the bulb holder, locate the electrical connector connected to the bulb and gently disconnect it by pulling outward. Unscrew or unclip the worn bulb from its housing, being careful not to force it to avoid damaging the support. Take the new bulb, being careful not to touch the glass with your fingers, and insert it into the same housing following the correct orientation. Reconnect the electrical connector and put the protective cover back in place. Turn on the headlights to verify that the new bulb is working properly. If everything is in order, close the hood. Always consult the user manual for specific information on the type of bulb to use and the procedure for your model.
Posted on 9 January 2025 by ScegliAuto
Video tutorial
Related tutorials
Audi A3
(2003-2013 /
MK 2, 8P)
Today we will explain how to replace the headlight bulb of the right front headlight of an Audi A3 model 8P car. Before proceeding with the replaceme…

Audi A3
(2012-2019 /
8V, MK 3)
In this tutorial, you can observe how to replace the bulb of a headlight of an Audi A3 car. First, we will need to proceed with the disassembly of th…
Audi A3
(2003-2013 /
MK 2, 8P)
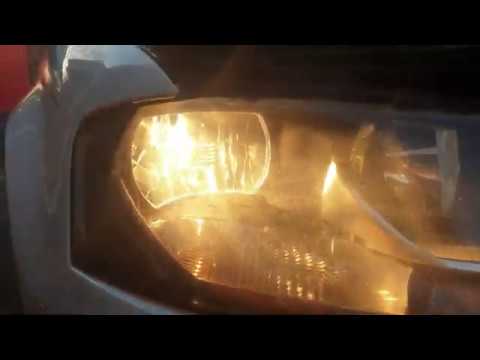
Changing the front headlight bulb on an Audi A3? Let's see how to remove the bulb. Open the front bonnet and lift it. Locate the headlight cover cap …
Other guides you may be interested in
|
Fuses Location and Diagram for the Volkswagen Crafter
In this guide, we will look at the location of the fuse boxes and how to find their diagram for the Volkswagen Crafter. First, get inside the vehicle and start by removing the plastic cover found under the steering wheel, to access the internal fuse box; you will find another fuse box in the engine compartment by removing the plastic cover located next to the battery. At this point, use the owner's manual to find the fuse diagram, which will allow you to identify and replace any blown fuses with new ones! by ScegliAuto More videos
|

|
For advertising on this site Write to info@scegliauto.com
ScegliAuto is not responsible for any inaccuracy of the data in the lists. To report any inaccuracy or your business (if you own the business in question), please write to info@scegliauto.com
Number of seconds to generate the page: 0.187
(c) ScegliAuto 2026 - info@scegliauto.com - Privacy policy VAT number: IT01247470535 |
