
|
Do it yourself
| |||
| ||||


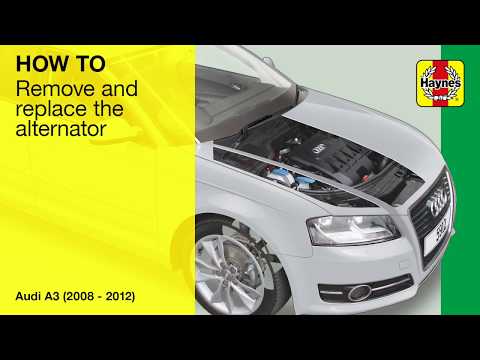
How to replace the alternator of the Audi A3
Model: Audi A3
8V, MK 3
- Years 2012-2019
Today we will explain how to replace the alternator on a 2014 Audi A3 car. Before performing the alternator replacement, it is necessary to disconnect the negative terminal of the battery in order to deactivate the voltage inside the vehicle. Immediately after, we remove the front wheel on the passenger side to have more space to perform the replacement; we lift the car using jack stands. We unscrew the screws on the fender to remove it. We loosen the fixing belt by removing the tensioner with the help of a M16 wrench. We remove the distribution belt and proceed with the disassembly of the alternator. We unscrew the screws that fix it to the compressor and disconnect the power connector. We then remove the element and insert the new one. After completing the assembly, we insert the belt and tensioner and then mount the front wheel and start the vehicle to test the operation.
Posted on 24 March 2025 by ScegliAuto
Video tutorial
Related tutorials
Audi A3
(2003-2013 /
MK 2, 8P)
Is the alternator of our Audi A3 damaged? Let's see how the piece is removed from inside the engine compartment. We raise the front hood of the engin…
Audi A3
(2003-2013 /
MK 2, 8P)
Today we will see instructions on how to disassemble the alternator of an Audi A3 in its second generation. First we open and lift the bonnet; we rem…
Audi A3
(2003-2013 /
MK 2, 8P)
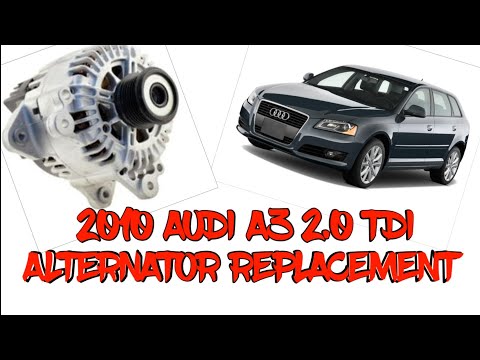
.. The guide shows how to replace the alternator of the Audi A3 8p 2.0 Tdi. To do this it is recommended to use an automobile.. …
Other guides you may be interested in
|
Entering Radio Code for Nissan Qashqai
Today, in this very short video tutorial, you will learn how to enter the radio code for a Nissan Qashqai. The radio code can be found in the car's manual, provided by the manufacturer; sometimes it can also be found on the back of the radio. First, get inside the vehicle: when you turn on the radio, it will prompt you to enter the unlock code: input the code as shown in the video. At this point, the radio will unlock, and you can listen to all the music you want! Sometimes the code may not match yours. Check the manual for the correct code. by ScegliAuto More videos
|

|
For advertising on this site Write to info@scegliauto.com
ScegliAuto is not responsible for any inaccuracy of the data in the lists. To report any inaccuracy or your business (if you own the business in question), please write to info@scegliauto.com
Number of seconds to generate the page: 0.087
(c) ScegliAuto 2026 - info@scegliauto.com - Privacy policy VAT number: IT01247470535 |