
|
Do it yourself
| |||
| ||||


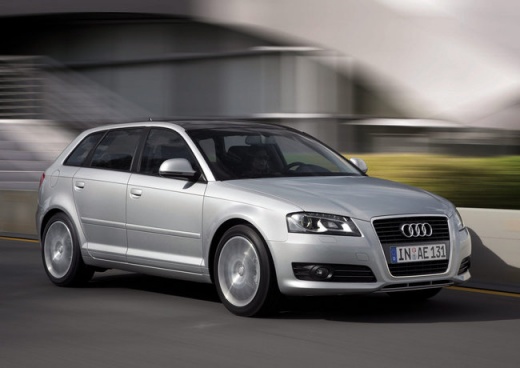
Instructions for removing headlights and bumpers on Audi A3 Sportback
Model: Audi A3 Sportback
MK 2
- Years 2003-2013
In this video tutorial we will see the main instructions to be able to remove the headlight, together with the front bumper, on an Audi A3 Sportback from 2003 to 2013. First we remove the front bumper of our car, unscrewing all the fixing screws; we find them on the upper part of the bumper, on both sides of the wheel arches and under the bumper itself. Once the latter has been removed, we can unscrew the fixing screws of the lights that we find both at the bottom and at the top; finally disconnect their light bulb electrical connector to remove it definitively. Reverse the procedure for reassembly!
Posted on 15 January 2022 by ScegliAuto
Video tutorial
Related tutorials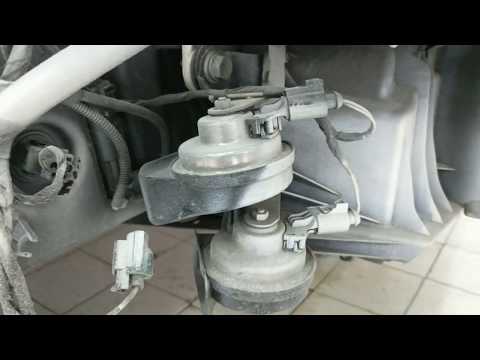
Audi A3 Sportback
(2012-2019 /
MK 3)
In this guide we will see the instructions that will allow us to remove and replace the horn on the Audi A3 Sportback third series. First of all, let…
Audi A3 Sportback
(2012-2019 /
MK 3)
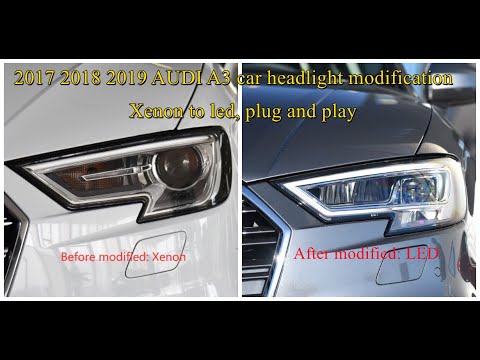
Let's see in this guide the steps on how to remove and replace the headlights of the Audi A3 Sportback. First of all we open the bonnet and start by …
Audi A3 Sportback
(2003-2013 /
MK 2)
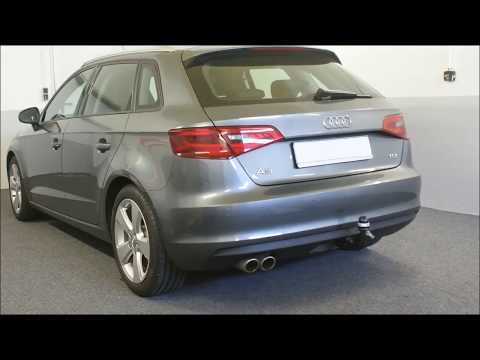
To install the towbar on an Audi A3 Sportback we start by removing the rear lights (external headlights), we remove the rear bumper and the rear long…
Other guides you may be interested in
|
How to Replace the Rear Door Lock on an Audi A4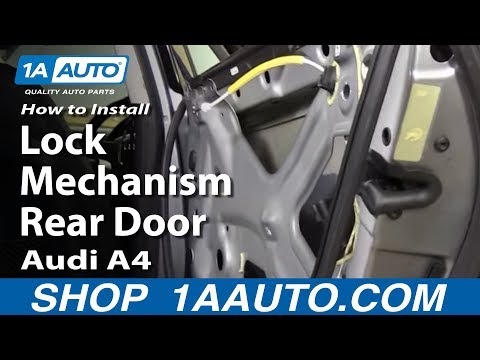
First, disconnect the negative cable from the battery. Now, open the door in question and lift the chrome strip at the top. Then, remove all the screws indicated in the video. You can now lift the door panel by pulling it towards you. Disconnect the connectors at the back and remove the panel. Next, you will need to remove the components shown in the video. Also, detach the weatherstrip around the door and the protective sheet. You will also need to remove the window glass by disconnecting all the connectors and bolts. Then, replace the damaged part and retrace the steps described in reverse. by ScegliAuto More videos
|
|
For advertising on this site Write to info@scegliauto.com
ScegliAuto is not responsible for any inaccuracy of the data in the lists. To report any inaccuracy or your business (if you own the business in question), please write to info@scegliauto.com
Number of seconds to generate the page: 0.066
(c) ScegliAuto 2026 - info@scegliauto.com - Privacy policy VAT number: IT01247470535 |