
|
Do it yourself
| |||
| ||||


|
When machining the cylinder head, it is always advisable to check the flatness of the surface before installation, using a straight edge and a feeler gauge for valves; the same check should be performed on the cylinder block. Next, proceed to replace the valve guide seals: compress the spring with the appropriate spring clamp, remove the valve's retaining half-shells from the seat, extract the spring, valve, and seal; clean the seat thoroughly, lubricate it, and insert the new seal, also lubricated, before reinstalling the valve using the spring clamp. Apply the new gasket to the exhaust manifold and install it, tightening the securing nuts with a torque wrench; recheck the threads of the cylinder head mounting holes on the block without allowing any debris to enter the cylinders; position the new cylinder head gasket and then the cylinder head itself, tightening the bolts (use a new set of bolts) in a cross pattern, securing them with both the torque wrench and a standard spanner; lubricate the valve guide cup seats, insert the new cups, and then install the new camshafts, aligning the timing chain references and inserting the corresponding tensioner; then apply the camshaft brackets, side oil seals, and the toothed pulley for the timing; apply the new gasket for the rocker cover and install the cover before moving on to the installation of the timing belt. Finish with the installation of the intake manifold, also inserting new gaskets here.
Updated on 13 February 2026 by ScegliAuto
Video tutorial
Related tutorials
Audi A3
(1996-2003 /
8L, MK 1)
Are the rear light bulbs damaged? Do we want to replace the headlight? Let's remove the rear light and replace it. We open the tailgate of the luggag…

Audi A3
(2012-2019 /
8V, MK 3)
When the low battery symbol appears on the instrument panel of the Audi A3, it means that the key battery needs to be replaced. By replacing the batt…
Audi A3
(2012-2019 /
8V, MK 3)
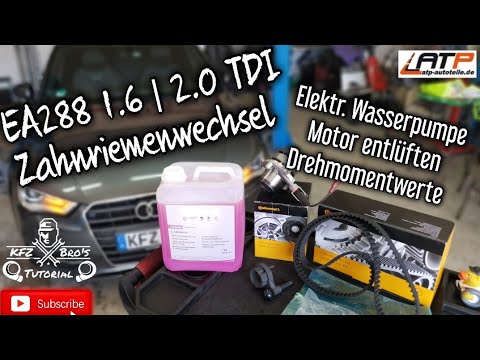
Below we will see the instructions on how and when to replace the timing belt on the Audi A3 2.0 TDI (but also on other models with the same engine);…
Other guides you may be interested in
|
How to Replace the Front Headlamp Bulbs on a Dacia Sandero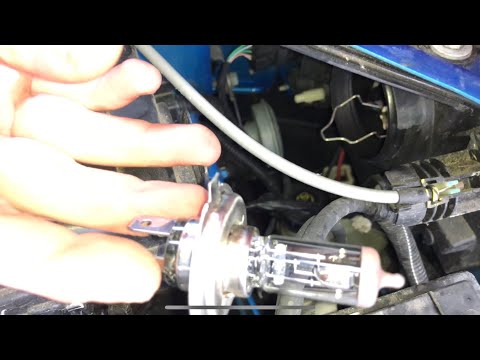
Open the bonnet by pulling the lever located at the bottom left of the dashboard, and secure it with the prop rod. Locate the inspection cap of the headlamp (at the rear of the headlamp) and remove it. After removing the caps, you will find the bulbs with metal clips; pull out the bulb holder from the headlamp and extract the damaged bulbs using a screwdriver. Fit the new bulbs (ensuring they are the correct type and size) and insert the bulb holder back into the headlamp housing. Reassemble all previously removed parts. by ScegliAuto More videos
|

|
For advertising on this site Write to info@scegliauto.com
ScegliAuto is not responsible for any inaccuracy of the data in the lists. To report any inaccuracy or your business (if you own the business in question), please write to info@scegliauto.com
Number of seconds to generate the page: 0.066
(c) ScegliAuto 2026 - info@scegliauto.com - Privacy policy VAT number: IT01247470535 |