
|
Do it yourself
| |||
| ||||


Removing the Center Tunnel Cover
Model: BMW Serie 5
E39
- Years 1995-2003
To remove the center tunnel cover, it is necessary to disassemble the armrest.
With the help of a medium-sized flathead screwdriver, detach the glove compartment located just below the air vents behind the armrest. Then detach the air duct and the connector attached to it. Remove the two star screws fastening the armrest hinge and then detach the armrest itself by disconnecting the respective connectors; also remove the other two star screws located just below the armrest. Detach the leather boot of the gear shift by simply pulling the edges upward: just below the boot, there are two more star screws to unscrew. Remove the parking light switch (four-way flashers) and the star screw located just below it; also detach the button located to the right of the parking light switch by disconnecting the respective connectors. At this point, you can detach the center tunnel frame by pulling upward along the edges: lift the foam cover around the gear shift and then disconnect the large connector and the one for the cigarette lighter. You can now apply the carbon fiber effect film to cover the center tunnel cover: carefully smooth it out with a spatula to avoid air bubbles; trim it leaving edges to fold over (if necessary, heat the film with a heat gun to shape it better). Once the covering is complete, reassemble everything by correctly connecting the previously disconnected connectors.
Updated on 3 February 2026 by ScegliAuto
Video tutorial
Related tutorials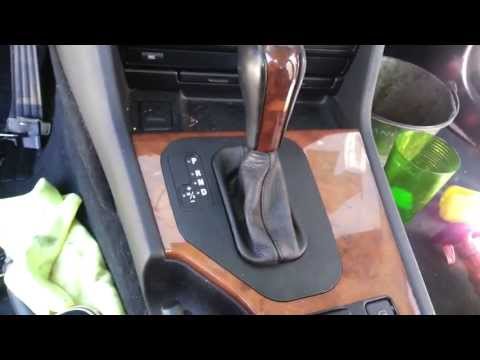
BMW Serie 5
(1995-2003 /
E39)
To remove the cover of the center tunnel (which in this case has a wood finish), start by removing the leather shift boot, then take off the trim aro…
BMW Serie 5
(2003-2010 /
E61, E60)
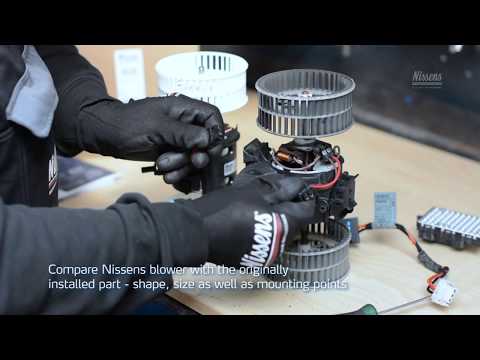
Here are step-by-step instructions to disassemble and replace the cabin fan in your BMW 5 Series. First, get inside the vehicle and begin removing th…

BMW Serie 5
(2003-2010 /
E61, E60)
In this guide we will see the instructions that will allow us to disassemble and eventually replace the console and the central tunnel of the BMW 5 S…
Other guides you may be interested in
|
How to Replace the Remote Battery for the Volvo XC40?
In this tutorial, you will see how to replace the battery in the remote for the Volvo XC40, a very simple and quick operation. For this, you will need a replacement battery of type CR2032 and possibly a small flathead screwdriver. First, remove the front cover by pressing the button on the metal ring, then locate the second button, press it as well, and remove the opposite cover. Next, open the circular cap, take out the old battery, and insert the new one in the opposite direction. Finally, reassemble everything. by ScegliAuto More videos
|
|
For advertising on this site Write to info@scegliauto.com
ScegliAuto is not responsible for any inaccuracy of the data in the lists. To report any inaccuracy or your business (if you own the business in question), please write to info@scegliauto.com
Number of seconds to generate the page: 0.156
(c) ScegliAuto 2026 - info@scegliauto.com - Privacy policy VAT number: IT01247470535 |
