
|
Do it yourself
| |||
| ||||



How to Replace the Cooling Radiator on a Chevrolet Captiva
Model: Chevrolet Captiva
MK 1
- Years:
2006, 2007, 2008, 2009, 2010, 2011, 2012, 2013, 2014, 2015, 2016, 2017
Video tutorial
This guide provides instructions for removing and replacing the engine cooling radiator on a Chevrolet Captiva. First, open the bonnet and gently unclip the front bumper to access the front of the radiator; then disconnect the hose and drain the coolant into a container. Next, unscrew the bolts securing the radiator and fan, remove the radiator, and replace it with the new one; reassemble everything and finally pour the new antifreeze into the reservoir until it reaches the maximum level mark.
Updated on 27 September 2026 by ScegliAuto
Related tutorials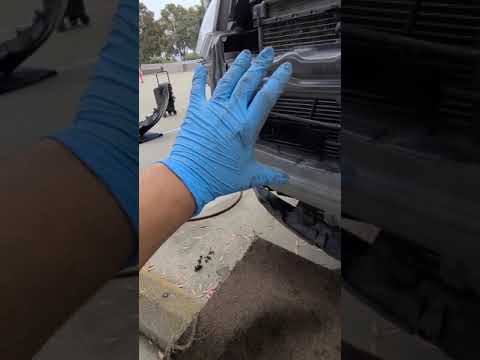
Chevrolet Captiva
(2006-2018 /
MK 1)
Replace the cooling radiator if damaged on your Chevrolet Captiva. Unscrew all the fastening screws of the front bumper and remove it. To remove the …

Chevrolet Captiva
(2006-2018 /
MK 1)
Modify bi-xenon headlights on Captiva. …
Chevrolet Captiva
(2006-2018 /
MK 1)
To replace the radiator on the Chevrolet Captiva, open the bonnet to access the engine bay and loosen all the bolts located at the front, just above …
Other guides you may be interested in
|
How to Open the Fuel Flap on a Volkswagen Tiguan?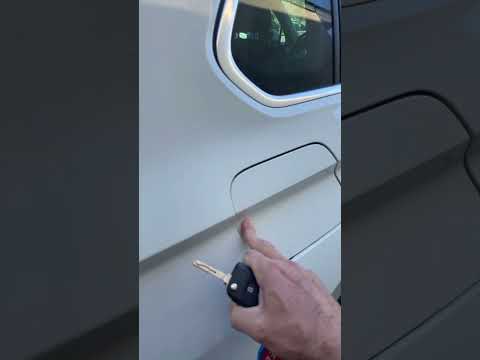
To open the fuel flap on a Volkswagen Tiguan, first unlock the car using the appropriate button on the remote. This will open the car and unlock the mechanism that controls the fuel flap. At this point, apply light pressure to the left side of the flap to open it and access the cap underneath. Once this is unscrewed, you can refuel and then close everything. by ScegliAuto More videos
|
|
For advertising on this site Write to info@scegliauto.com
ScegliAuto is not responsible for any inaccuracy of the data in the lists. To report any inaccuracy or your business (if you own the business in question), please write to info@scegliauto.com
Number of seconds to generate the page: 0.042
(c) ScegliAuto 2026 - info@scegliauto.com - Privacy policy VAT number: IT01247470535 |
