
|
Do it yourself
| |||
| ||||


How to set the clock on a Citroen Berlingo
Model: Citroen Berlingo
MK 3
- Years 2018-2026
Let's see how to set the clock on a Citroen Berlingo: to do this, it is not necessary to start the engine, it will be sufficient to turn on the instrument panel. Let's press the "menu" button located on the radio panel, in the center of the dashboard. This will display the corresponding screen, which we will confirm with the "ok" button located in the center of the directional buttons. Scroll down through the menu options until you reach "date and time adjustment" and confirm again with "ok". Now use the up/down buttons to adjust the time, and move to the minutes with the right/left buttons, then confirm with "ok". We can also choose whether we want the time to be set in 12 hours or 24 hours.
Posted on 30 March 2026 by ScegliAuto
Video tutorial
Related tutorials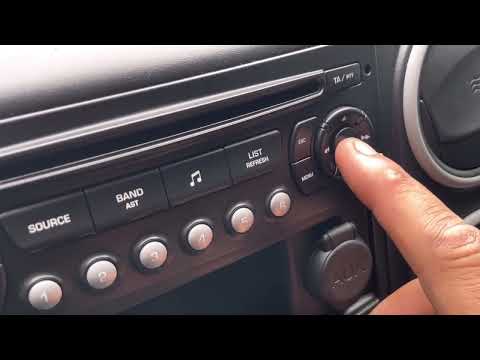
Citroen Berlingo
(2008-2018 /
MK 2)
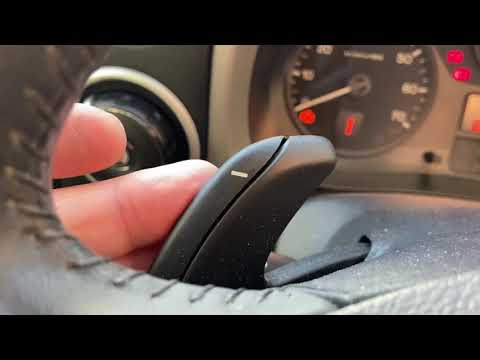
To adjust the clock on the Citroën Berlingo, turn the ignition key in the ignition barrel to switch on the instrument panel. Once the panel is on, pr…
Citroen Berlingo
(2008-2018 /
MK 2)
To set the clock on a Citroën Berlingo, turn the ignition key to activate the instrument cluster. Once the cluster is on, press the MENU button and t…

Citroen Berlingo
(1996-2013 /
MK 1)
The clock adjustment of the Citroën Berlingo can be done by turning on the instrument panel, after inserting the ignition key into the corresponding …
Other guides you may be interested in
|
How to Connect the Cables to the Battery of the Citroen Xsara Picasso?
In this tutorial, you will see how to connect the cables to the battery of the Citroen Xsara Picasso, useful if you need to recharge it or perform an emergency start. First, ensure the key is not inserted, then open the bonnet and move to the front of the left headlamp. Next, locate the bolt just behind the filter box and connect the positive terminal clamp to it. Now you can connect the negative terminal to any point on the chassis, such as the indicated point. Once the operation is complete, ensure you disconnect the negative first and then the positive. by ScegliAuto More videos
|

|
For advertising on this site Write to info@scegliauto.com
ScegliAuto is not responsible for any inaccuracy of the data in the lists. To report any inaccuracy or your business (if you own the business in question), please write to info@scegliauto.com
Number of seconds to generate the page: 0.620
(c) ScegliAuto 2026 - info@scegliauto.com - Privacy policy VAT number: IT01247470535 |
