
|
Do it yourself
| |||
| ||||


Cylinder Head Resurfacing and Engine Gasket Kit Replacement
Model: Citroen Xsara
MK 1
- Years 1997-2006
After resurfacing the cylinder head, check the flatness of the surface using a straight edge and a feeler gauge; repeat the same check on the cylinder block. Replace the valve guide seals using a special arch clamp to compress the valve spring and remove it from its seat (lubricate the new seal before inserting it into its seat); replace the intake manifold gaskets and secure it to the cylinder head; perform the same operation for the exhaust manifold. Clean the threads of the cylinder head mounting holes, ensuring no debris falls into the cylinders; apply the new cylinder head gasket and secure it using a new set of studs with sealing paste. Insert the new valve lifters, the new camshaft, and apply gasket sealant before fitting the retaining plate; replace the camshaft oil seals and then install the timing pulleys and belt, ensuring the timing marks are aligned. Finally, fit the rocker covers with the new gaskets.
Updated on 12 February 2026 by ScegliAuto
Video tutorial
Related tutorials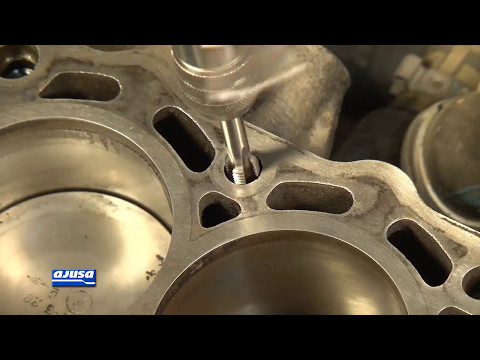
Citroen Xsara
(1997-2006 /
MK 1)
When replacing the cylinder head gasket, it is good practice to have the head itself skimmed to eliminate any warping caused by overheating; after sk…
Citroen Xsara
(1997-2006 /
MK 1)
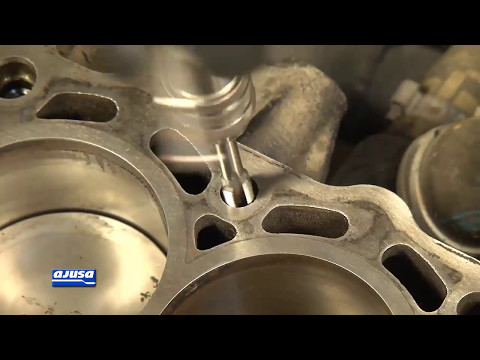
When replacing the cylinder head gasket, it is good practice to also replace the corresponding fixing pins; however, before installation, re-thread t…
Citroen Xsara
(1997-2006 /
MK 1)
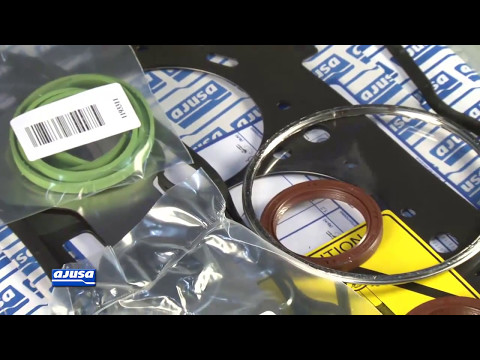
Before applying the new gasket, thoroughly clean its seating area, both on the cylinder head side and under the cover itself: cleaning is very import…
Other guides you may be interested in
|
How to Connect the Cables to the Battery of the Citroen Xsara Picasso?
In this tutorial, you will see how to connect the cables to the battery of the Citroen Xsara Picasso, useful if you need to recharge it or perform an emergency start. First, ensure the key is not inserted, then open the bonnet and move to the front of the left headlamp. Next, locate the bolt just behind the filter box and connect the positive terminal clamp to it. Now you can connect the negative terminal to any point on the chassis, such as the indicated point. Once the operation is complete, ensure you disconnect the negative first and then the positive. by ScegliAuto More videos
|
|
For advertising on this site Write to info@scegliauto.com
ScegliAuto is not responsible for any inaccuracy of the data in the lists. To report any inaccuracy or your business (if you own the business in question), please write to info@scegliauto.com
Number of seconds to generate the page: 0.438
(c) ScegliAuto 2026 - info@scegliauto.com - Privacy policy VAT number: IT01247470535 |
