
|
Do it yourself
| |||
| ||||


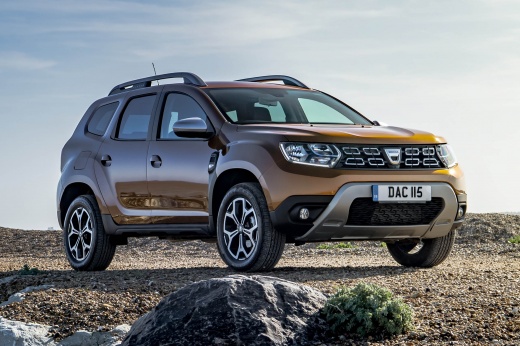
How to repair the horn of the Dacia Duster
Model: Dacia Duster
HM, MK 2
- Years 2017-2024
In this video we can see how to repair the horn of a Dacia Duster: it is not working properly not because of a fuse, but because a poor quality black wire was poorly soldered. We must therefore disassemble the horn control, removing the two screws at the base of the horn (rear side); we gently remove the control (the one pressed to sound the horn) and then disconnect the electrical connector. We find the rigid black wire, check that it has a poorly executed solder joint, which we will cut away, clean the wire with pliers or fine sandpaper and apply fresh solder with the soldering iron, making sure it adheres well to the contact. Reconnect the electrical plug, reposition the control and test the functionality of the component.
Posted on 26 July 2025 by ScegliAuto
Video tutorial
Related tutorials
Dacia Duster
(2010-2017 /
HS, MK 1)
Today's main instructions will show us the process of disassembling and replacing the horn or acoustic warning device of the Renault Duster, as well …

Dacia Duster
(2010-2017 /
HS, MK 1)
The indicator switch on the Dacia Duster MK1 is prone to chronic failure. The repeated movement of the lever causes the internal wire soldering to br…
Dacia Duster
(2010-2017 /
HS, MK 1)
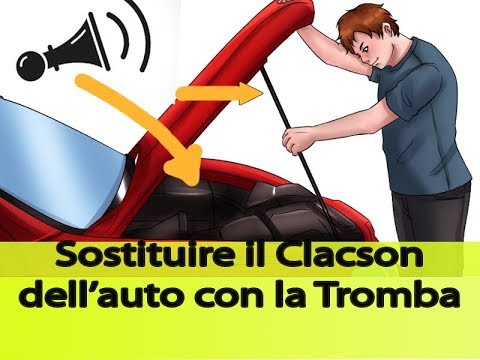
Changing the horns on a Duster? Here’s how to do it. Open the bonnet by pulling the engine compartment release lever and secure it. Unscrew the secur…
Other guides you may be interested in |
Frequently Asked QuestionsHow to Bleed the Clutch on a Renault Clio?
To bleed the clutch on a Renault Clio, open the bonnet to access the components located in the engine bay: here, you will need to undo the screws that secure the battery in its housing, the intake manifold, and the coolant reservoir. This will allow you to locate the pipe through which the brake fluid flows: by inserting the other end of the pipe into a container, you can press the clutch pedal to expel all the fluid until it fills the container. by ScegliAuto More videos
|
|
For advertising on this site Write to info@scegliauto.com
ScegliAuto is not responsible for any inaccuracy of the data in the lists. To report any inaccuracy or your business (if you own the business in question), please write to info@scegliauto.com
Number of seconds to generate the page: 0.056
(c) ScegliAuto 2026 - info@scegliauto.com - Privacy policy VAT number: IT01247470535 |
