
|
Do it yourself
| |||
| ||||


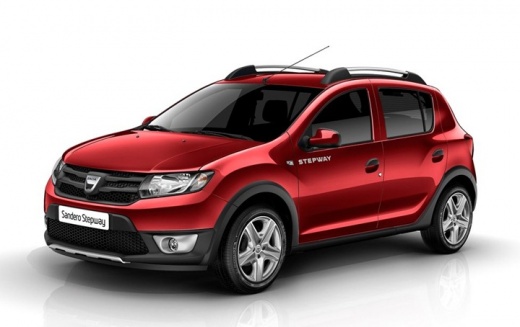
How to Replace the Bulb in the Rear Light of a Dacia Sandero
Model: Dacia Sandero
B8
- Years:
2012, 2013, 2014, 2015, 2016, 2017, 2018, 2019, 2020
Video tutorial
The type of bulb referred to for the Dacia Sandero is the W16W (T15). Open the tailgate and locate the rear light unit, where, on the inner side of the lamp, you will find a fixing screw. Unscrew it completely and keep it safe. The lamp is held by two pins on the outer side (body side) and by the screw just removed from the inside. Firmly grasp the lamp and pull it towards you. Be careful as the cables are very short; do not pull the lamp too far to avoid tearing the connectors. At the back of the lamp, the stop bulb housing is the largest; rotate the socket 1/4 turn counterclockwise and remove the bulb holder; pull out the old bulb. Insert the new one without touching it with your hands, then replace the bulb holder in the lamp and rotate it 1/4 turn clockwise. Ensure the seal is well positioned, or water may enter. Align the elastic pins of the lamp and push it until you hear a "click". Reinsert the fixing screw: all that’s left is to test its functionality.
Posted on 21 July 2026 by ScegliAuto
Related tutorials
Dacia Sandero
(2008-2012 /
BS)
To replace the rear light bulb on a Dacia Sandero, open the rear tailgate to access the components inside the boot. On the side of the boot, you will…

Dacia Sandero
(2012-2020 /
B8)
To replace the rear light bulb in the Dacia Sandero, open the tailgate to access the side of the boot. Here, you will find a knob that needs to be co…
Dacia Sandero
(2012-2020 /
B8)
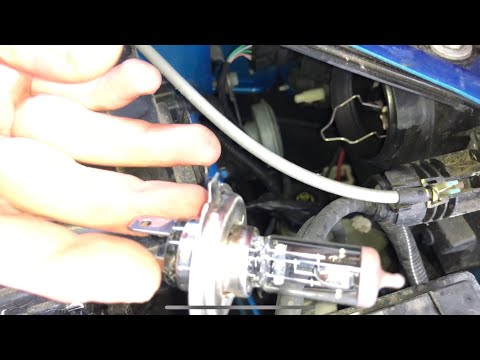
Before starting, open the front bonnet of your Dacia Sandero. Begin by removing the rear plastic cover of the bulb. By doing this, you will reach the…
Other guides you may be interested in
|
How to Open the Hood of the BMW X3
Today, you will learn how to open and close the hood of the BMW X3. To perform this simple operation, lift the hood release lever located next to the door seal on the driver’s side. After pulling the lever, you will notice that the hood will lift slightly. Position yourself in front of the hood and lift it after moving the internal lever from left to right. To keep the hood secure during maintenance, use the side support rod. To close the hood, simply let it fall back into place. by ScegliAuto More videos
|
|
For advertising on this site Write to info@scegliauto.com
ScegliAuto is not responsible for any inaccuracy of the data in the lists. To report any inaccuracy or your business (if you own the business in question), please write to info@scegliauto.com
Number of seconds to generate the page: 0.074
(c) ScegliAuto 2026 - info@scegliauto.com - Privacy policy VAT number: IT01247470535 |
