
|
Do it yourself
| |||
| ||||


How to Replace the H7 Dipped Beam Bulb on a Dacia Duster
Model: Dacia Duster
HM, MK 2
- Years 2017-2024
In today's tutorial, see how to replace the H7 dipped beam bulbs on a Dacia Duster. First, open the front bonnet to access the back of the headlights where you want to replace the bulbs. Once this is done, remove the rubber cover that protects the electrical contacts from water and moisture. Next, extract the H7 dipped beam bulb from its housing (to do this, push it down until you hear a click) and disconnect the power supply by unplugging the connector. Now you can replace the bulb with a new one, inserting it into position with one of the tabs facing upwards. Insert the lower part first, then push upwards until you hear a click. From this position, you can also access the other bulbs in the headlight, which can be replaced using similar procedures. Reassemble everything by reversing the steps. Posted on 2 August 2019 by ScegliAuto for models built from 2010 to 2017 (code: MK 1, HS).
Updated on 1 May 2026 by ScegliAuto
Video tutorial
Related tutorials
Dacia Duster
(2010-2017 /
HS, MK 1)
In a few simple steps, we will see how to replace the dipped beam bulb of the front headlight of the Dacia Duster. First, open the hood of the car an…
Dacia Duster
(2010-2017 /
HS, MK 1)
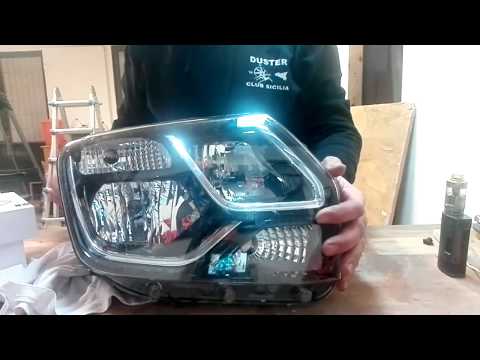
In this video, see how to install LED bulbs on the Dacia Duster. Once the headlamp is removed (it is easier to work this way than directly on the car…
Dacia Duster
(2017-2024 /
HM, MK 2)
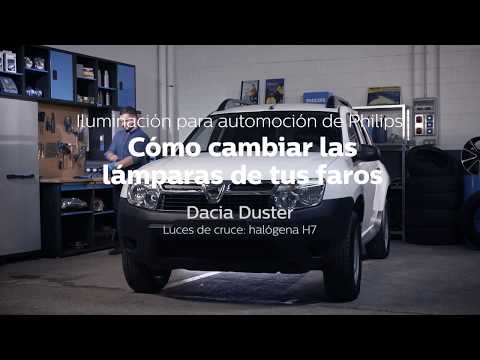
In this guide, you will learn how to replace the dipped beams on a Dacia Duster. Start by opening the bonnet; in the area behind the headlights, you …
Other guides you may be interested in
|
How to Replace the External Wing Mirror on a Ford C MAX
In the event of a breakage, it will be necessary to replace the external wing mirror on the 2011 Ford C MAX. This operation is easily performed independently. Start by removing the internal cover of the mirror with a plastic lever. Then, use a socket wrench to remove the securing pins. Once the pins are removed, you can take off the mirror, but not before disconnecting the power connectors. Then proceed to fit the new mirror. First, connect the connectors and then secure the mirror to its housing with the pins. Refit the plastic cover and test the operation of the electric mirror using the controls. by ScegliAuto More videos
|
For advertising on this site Write to info@scegliauto.com
ScegliAuto is not responsible for any inaccuracy of the data in the lists. To report any inaccuracy or your business (if you own the business in question), please write to info@scegliauto.com
Number of seconds to generate the page: 0.187
(c) ScegliAuto 2026 - info@scegliauto.com - Privacy policy VAT number: IT01247470535 |
