
|
Do it yourself
| |||
| ||||


How to Remove the Standard Radio from the Dacia Duster
Model: Dacia Duster
HM, MK 2
- Years 2017-2024
Here are brief instructions to help you remove and replace the standard radio from the Dacia Duster, following these simple steps. First, get inside the vehicle and start by removing the plastic cover on the side of the radio, prying it off with something thin; then unscrew the fastening screws of the radio found on the sides, as shown in the video. At this point, disconnect the wiring to permanently remove the radio; then install the new multimedia system, making the necessary connections!
Updated on 27 July 2026 by ScegliAuto
Video tutorial
Related tutorials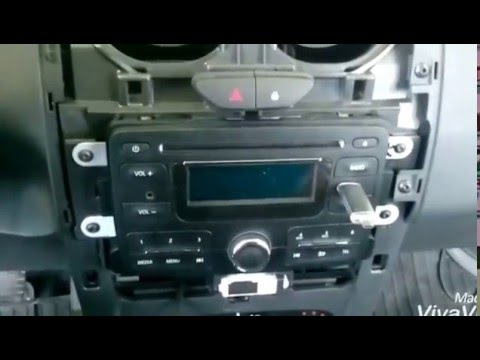
Dacia Duster
(2010-2017 /
HS, MK 1)
Learn how to remove the original radio located in the dashboard of a Dacia Duster. Remove the plastic trim at the front of the dashboard (using a lev…
Dacia Duster
(2017-2024 /
HM, MK 2)
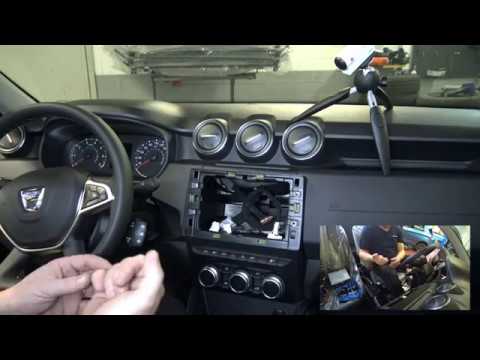
Want to remove the car radio from your Dacia Duster but don’t know how? In this video, see how to remove the original radio. Remove the stereo trim f…
Dacia Duster
(2010-2017 /
HS, MK 1)
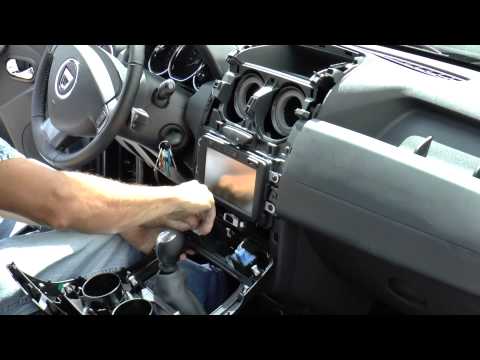
Do you want to remove the car radio from your Dacia Duster to replace it or connect a camera and don't know how to do it? Let's see in this video how…
Other guides you may be interested in |
How to Check the Oil Level on a Jeep Renegade?
To check the oil level on a Jeep Renegade, you need to open the bonnet to access the components inside the engine bay: on the lower left side of the engine block, you will find the dipstick for checking the level. This should be pulled out and thoroughly cleaned with a cloth: once cleaned, reinsert it back into its tube and pull it out immediately after. This way, you can check that the oil mark is between the minimum and maximum levels; finally, you can place the dipstick back in its tube. by ScegliAuto More videos
|
|
For advertising on this site Write to info@scegliauto.com
ScegliAuto is not responsible for any inaccuracy of the data in the lists. To report any inaccuracy or your business (if you own the business in question), please write to info@scegliauto.com
Number of seconds to generate the page: 0.058
(c) ScegliAuto 2026 - info@scegliauto.com - Privacy policy VAT number: IT01247470535 |
