
|
Do it yourself
| |||
| ||||


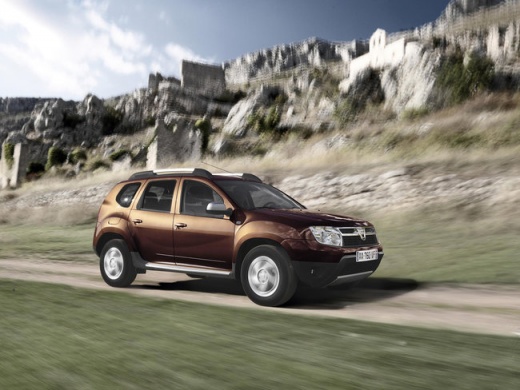
How to Replace the Rear Light Bulb of the Dacia Duster
Model: Dacia Duster
MK 1, HS
- Years:
2010, 2011, 2012, 2013, 2014, 2015, 2016, 2017
Video tutorial
To independently replace the rear light bulb of your Dacia Duster (2010-2017), carefully follow the steps in this guide. First, park the car safely and ensure it is completely off. Next, go to the rear and lift the boot. Locate the cover on the side of the boot and remove it by hand. Then, unscrew the two safety clips and remove the light unit. Finally, replace the faulty bulb with a new one.
Updated on 12 September 2026 by ScegliAuto
Related tutorials
Dacia Duster
(2017-2024 /
HM, MK 2)
Replacing the front headlight bulb of a Dacia Duster model 2 can be done independently. Start by opening the front bonnet and removing the cover of t…
Dacia Duster
(2010-2017 /
MK 1, HS)
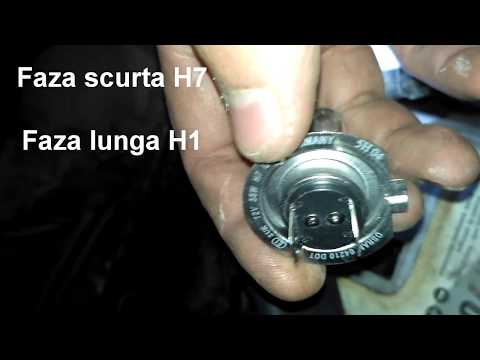
To replace the front headlamp bulb on a Dacia Duster, open the bonnet to access the rear of the headlamp. Remove the circular cover that protects the…

Dacia Duster
(2017-2024 /
HM, MK 2)
To replace the bulb on the Dacia Duster, open the bonnet to access the rear of the corresponding headlight. Here, you will need to remove the circula…
Other guides you may be interested in
|
How to Open the Bonnet of a Toyota C-HR
To open the bonnet of a Toyota C-HR, get inside the vehicle and lift the lever with the bonnet symbol located under the steering wheel. After lifting the lever, you will notice that the bonnet rises a few centimetres. Position yourself in front of the bonnet, insert your hand into the gap, and move the small internal lever from right to left, then lift the bonnet. You can keep the bonnet open during maintenance by positioning it on the support rod. To close the bonnet, remove the support rod and let it drop back down. by ScegliAuto More videos
|
|
For advertising on this site Write to info@scegliauto.com
ScegliAuto is not responsible for any inaccuracy of the data in the lists. To report any inaccuracy or your business (if you own the business in question), please write to info@scegliauto.com
Number of seconds to generate the page: 0.022
(c) ScegliAuto 2026 - info@scegliauto.com - Privacy policy VAT number: IT01247470535 |
