
|
Do it yourself
| |||
| ||||


Replacing Brake Pads
Model: Dacia Duster
HS, MK 1
- Years 2010-2017
Loosen the wheel nuts and lift the vehicle, securing it safely. Unscrew the bolts and remove the wheel. Use an Allen key to unscrew the two retaining screws of the caliper and remove it by taking off the two retaining springs. Check the wear condition of the retainers and the piston. Clean the entire braking assembly from debris. Lubricate the mounting pins and reposition the piston, ensuring proper functionality. Fit the new brake pads, paying attention to the direction of rotation and installing the one with contacts facing inwards. Carefully refit the caliper and springs. Ensure the brake pads are perfectly adhered to the disc. Recheck the brake fluid level.
Updated on 2 February 2026 by ScegliAuto
Video tutorial
Related tutorials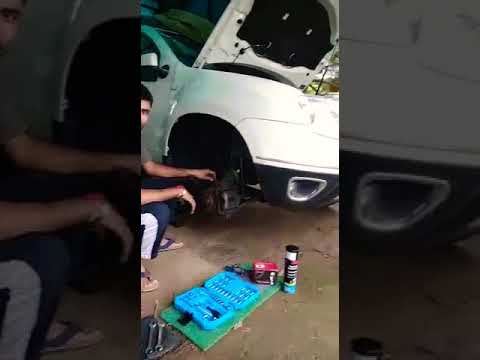
Dacia Duster
(2010-2017 /
HS, MK 1)
Are the front brake pads worn? Here's how to remove them on a Dacia Duster. Lift the car to a comfortable height using a jack. Undo the bolts with a …
Dacia Duster
(2010-2017 /
HS, MK 1)
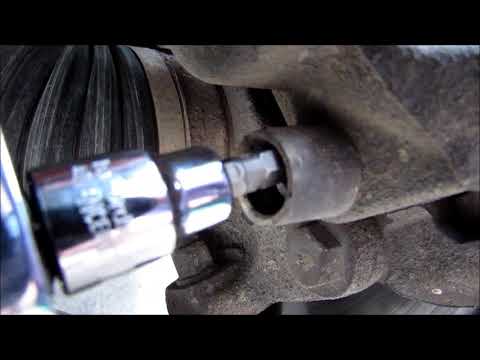
This video shows how to remove and replace the front brake pads and disc on a first series Dacia Duster. First, remove the front wheel by taking off …
Dacia Duster
(2010-2017 /
HS, MK 1)
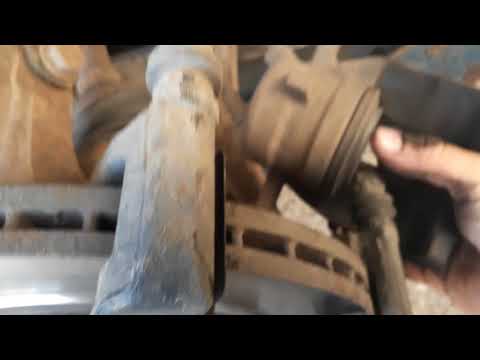
Let's see how to replace the disc brake pads on a Dacia Duster. Lift the car on a column jack to the desired height, then remove the wheel (using a s…
Other guides you may be interested in
|
How to Connect the Cables to the Battery of the Citroen Xsara Picasso?
In this tutorial, you will see how to connect the cables to the battery of the Citroen Xsara Picasso, useful if you need to recharge it or perform an emergency start. First, ensure the key is not inserted, then open the bonnet and move to the front of the left headlamp. Next, locate the bolt just behind the filter box and connect the positive terminal clamp to it. Now you can connect the negative terminal to any point on the chassis, such as the indicated point. Once the operation is complete, ensure you disconnect the negative first and then the positive. by ScegliAuto More videos
|
|
For advertising on this site Write to info@scegliauto.com
ScegliAuto is not responsible for any inaccuracy of the data in the lists. To report any inaccuracy or your business (if you own the business in question), please write to info@scegliauto.com
Number of seconds to generate the page: 0.294
(c) ScegliAuto 2026 - info@scegliauto.com - Privacy policy VAT number: IT01247470535 |
