
|
Do it yourself
| |||
| ||||


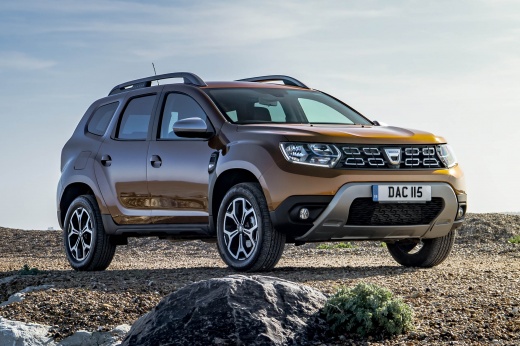
How to use the mobility kit of the Dacia Duster
Model: Dacia Duster
HM, MK 2
- Years:
2017, 2018, 2019, 2020, 2021, 2022, 2023, 2024
Video tutorial
In this video, we will see how to use the mobility kit of the Dacia Duster: our car does not have a spare tire, but we can repair a puncture with the inflation kit that is part of the standard equipment of the vehicle, as long as it is not a tear larger than 4 mm and is not located on the side of the tire. We park in a quiet, flat place, turn on the hazard lights, and pull the handbrake. The kit is located in the trunk under the carpet cover. We connect the compressor hose to the cylinder, then to the cylinder and finally to the wheel valve. The power cable must be connected to the car's electrical outlet, which must be started. Check the inflation pressure on the driver's side door thickness; if it has been exceeded, press the yellow button to reduce it, and if after 15 minutes it has not been possible to reach it, it means that the problem is too big to be repaired by the kit. At the end of the repair, drive for 2/3 km and then check the pressure again. Go to a tire repair shop as soon as possible for a permanent repair and do not exceed the recommended speed.
Posted on 10 July 2025 by ScegliAuto
Related tutorials
Dacia Duster
(2010-2017 /
MK 1, HS)
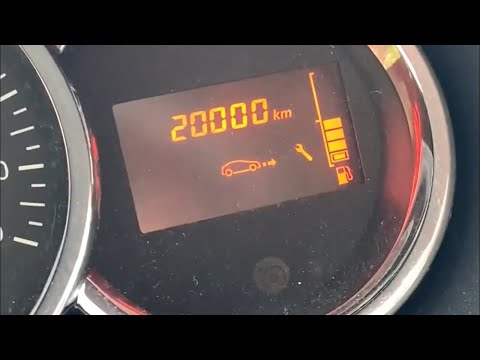
To easily locate the OBD port inside your Dacia Duster first edition, simply follow the procedure described below. First, enter the car and reach the…
Dacia Duster
(2010-2017 /
MK 1, HS)
Before you can start, sit in the driver's seat of your Dacia Duster. Begin by activating the instrument cluster by simply turning the key in the igni…
Dacia Duster
(2010-2017 /
MK 1, HS)
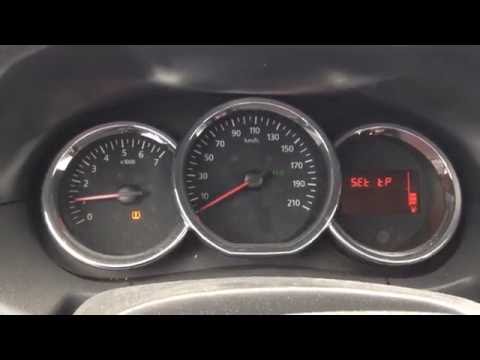
Before starting, sit in the driver's seat of your Dacia Duster. Start the engine by turning the key in the ignition switch. Then, select the "Set tp"…
Other guides you may be interested in
|
Frequently Asked QuestionsHow to Remove the Rear Seat of a Hyundai Tucson?
To remove the rear seat of a Hyundai Tucson, follow these steps. Start by moving the front seats to their most forward position to gain space. Next, locate the release lever on the underside of the rear seat, near the floor. Press this lever down while pulling the seat upwards to unlock it from the anchor pins. Once unlocked, tilt the seat upwards and forwards to remove it from its position. Repeat this process for both sides of the rear seat. Be careful of any electrical cables or components that may be connected to the seat during removal. Once the rear seat is removed, the disassembly is complete. by ScegliAuto More videos
|
|
For advertising on this site Write to info@scegliauto.com
ScegliAuto is not responsible for any inaccuracy of the data in the lists. To report any inaccuracy or your business (if you own the business in question), please write to info@scegliauto.com
Number of seconds to generate the page: 0.106
(c) ScegliAuto 2026 - info@scegliauto.com - Privacy policy VAT number: IT01247470535 |
