
|
Do it yourself
| |||
| ||||


Daihatsu Terios - Tail lightTail Light Daihatsu Terios (2006-2017 / mk 2, j 200, f 700) Daihatsu Terios (2006-2017 / MK 2, J200, F700)
How to Install the Rear Light on a Daihatsu Terios Today, you will learn how to install the rear light on a vehicle, specifically the steps for fitting the light on a Daihatsu Terios. Insert the bulbs into the …Read all… Posted on 11 October 2026 by ScegliAuto 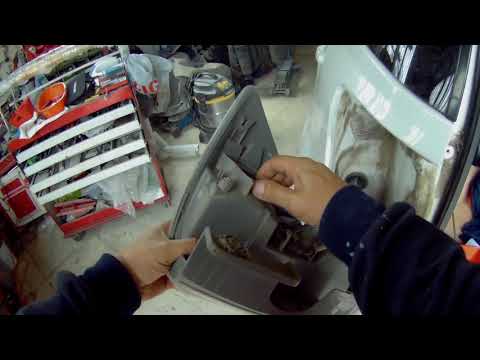 Daihatsu Terios (1997-2005 / MK 1, F500, J100)
How to Remove the Rear Light of a Daihatsu Terios Before you can begin, open the tailgate of your Daihatsu Terios. Start by unscrewing and removing the bolts that secure the rear light to its housing. Next, …Read all… Posted on 20 May 2026 by ScegliAuto 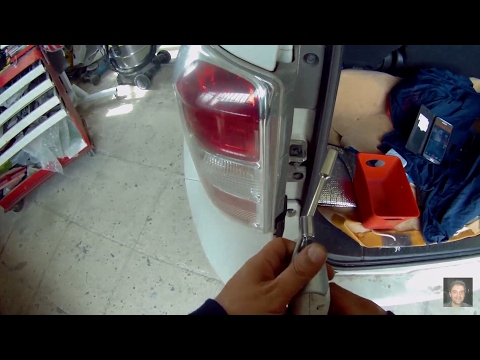 Daihatsu Terios (2006-2017 / MK 2, J200, F700)
Removing the Rear Light on Daihatsu Terios Open the boot and remove the two 10 mm bolts using a socket spanner that secure the rear light. At this point, lever around with a long flat screwdriver to …Read all… Posted on 5 May 2026 by ScegliAuto Tail Light Daihatsu Terios (1997-2005 / mk 1, f 500, j 100)
Daihatsu Terios (2006-2017 / MK 2, J200, F700)How to Install the Rear Light on a Daihatsu Terios Today, you will learn how to install the rear light on a vehicle, specifically the steps for fitting the light on a Daihatsu Terios. Insert the bulbs into the …Read all… Posted on 11 October 2026 by ScegliAuto
Daihatsu Terios (1997-2005 / MK 1, F500, J100)How to Remove the Rear Light of a Daihatsu Terios Before you can begin, open the tailgate of your Daihatsu Terios. Start by unscrewing and removing the bolts that secure the rear light to its housing. Next, …Read all… Posted on 20 May 2026 by ScegliAuto
Daihatsu Terios (2006-2017 / MK 2, J200, F700)Removing the Rear Light on Daihatsu Terios Open the boot and remove the two 10 mm bolts using a socket spanner that secure the rear light. At this point, lever around with a long flat screwdriver to …Read all… Posted on 5 May 2026 by ScegliAuto Car stereo (2) Spark plugs (1) Key (2) Onboard computer (1) Checks and maintenance (1) Dashboard (2) Tail light (3) Air filter (3) Cabin air filter (5) Fuel filter (1) Light bulb (1) Tail light bulb (2) Instrument panel light (2) Engine (2) Transmission fluid (1) Engine oil (1) Clock (2) Door trim panel (4) Brake pads (2) Fuse box (10) Suspension system (1) Service warning light (1) Brake drums and shoes (1) |
How to Replace the Cabin Filter on the Ford Puma
To replace the cabin filter on the Ford Puma, detach the small cover located on the left side of the front passenger footwell: once this is removed, loosen the underlying screw so that you can detach the corresponding panel. At this point, locate the filter box underneath, which can be opened to remove the filter inside. The new filter can then be inserted, covering everything with the box and refitting the corresponding panel into its housing. by ScegliAuto More videos
|
|
For advertising on this site Write to info@scegliauto.com
ScegliAuto is not responsible for any inaccuracy of the data in the lists. To report any inaccuracy or your business (if you own the business in question), please write to info@scegliauto.com
Number of seconds to generate the page: 0.007
(c) ScegliAuto 2026 - info@scegliauto.com - Privacy policy VAT number: IT01247470535 |
