
|
Do it yourself
| |||
| ||||


|
Model: Enfield Himalayan
To replace the front indicator bulb on the Royal Enfield Himalayan, you need to loosen the screw that secures the corresponding light unit next to the instrument cluster. Once the light unit is freed, you can disconnect its connector and remove the bulb inside; after removing the old bulb, insert the new one into its socket and then reconnect the connector. At this point, refit the light unit into its place, ensuring everything works correctly.
Updated on 13 August 2026 by ScegliAuto
Video tutorial
Related tutorials
Himalayan
In this tutorial we can see how to replace the headlight bulb in the Royal Enfield Himalayan, an extremely simple and quick operation. First of all, …

Himalayan
Follow this step-by-step guide to remove and replace the original front headlamp with a LED type on the Royal Enfield Himalayan. First, place your mo…

Himalayan
In this tutorial, we will see how to replace the front headlight on the Royal Enfield Himalayan, a very simple and quick operation. First, ensure tha…
|
How to Replace the Battery in a Yamaha Vino 125 Scooter?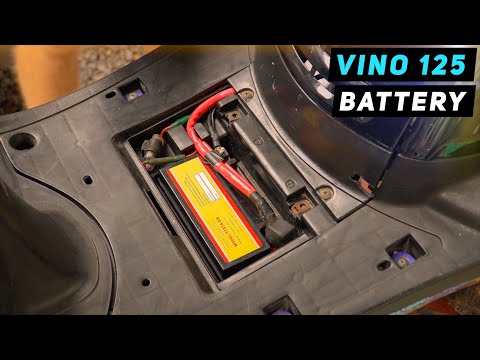
In this tutorial, you will see how to replace the battery in a Yamaha Vino 125 scooter, a very simple and quick operation. First, ensure that the key is not inserted for safety. Then, lift the rubber mat and, using a simple cross-head screwdriver, unscrew the two screws securing the plastic cover. Once opened, disconnect both terminals, starting with the negative, and remove the battery from its housing. To fit the replacement, simply follow the reverse procedure. by ScegliAuto More videos
|
|
For advertising on this site Write to info@scegliauto.com
ScegliAuto is not responsible for any inaccuracy of the data in the lists. To report any inaccuracy or your business (if you own the business in question), please write to info@scegliauto.com
Number of seconds to generate the page: 0.014
(c) ScegliAuto 2026 - info@scegliauto.com - Privacy policy VAT number: IT01247470535 |
