
|
Do it yourself
| |||
| ||||


Fiat Fiat Various - Glow plugsGlow Plugs Fiat Fiat Various ( / ) Fiat Fiat Various
 How to replace the glow plugs on a Fiat MultiJet 1.6 engine In this video we can see how to replace the glow plugs of a Fiat MultiJet 1.6 engine: we start by removing the cover of the engine block, then with a long …Read all… Posted on 23 July 2025 by ScegliAuto 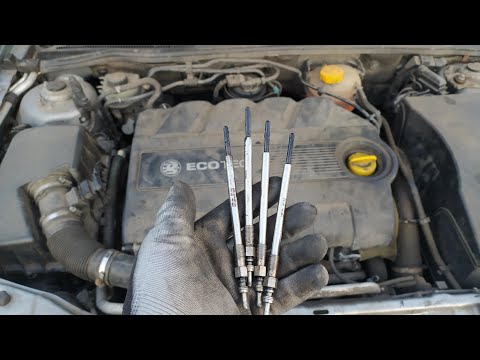 Fiat Fiat Various
 How to Replace the Glow Plugs on the 1.9 CDTI - JTD Engine (Opel - Fiat) In this video, discover the steps to dismantle and replace the glow plugs on the 1.9 CDTI engine fitted in Opel models, as well as in Fiat and Alfa Romeo …Read all… Posted on 15 June 2026 by ScegliAuto  Fiat Fiat Various
 Replacing Glow Plugs on 1.3 MultiJet Engines (Fiat, Opel) In this tutorial video, you will learn how to remove and replace the glow plugs on 1.3 MultiJet engines found in Fiat and Opel vehicles. First, open the bonnet …Read all… Posted on 27 April 2026 by ScegliAuto Airbag (2) Shocks (1) Car stereo (3) Battery (1) Transmission (2) Glow plugs (3) Control unit (6) Wheel rim (1) Key (10) Timing belt (3) Onboard computer (2) Checks and maintenance (3) Throttle body (1) Dashboard (1) Headlight (1) Air filter (1) Cabin air filter (1) Oil filter (1) Fuel injectors (1) Accessory kit (1) Light bulb (1) Headlight bulb (2) Handle (1) Engine (4) Engine oil (1) Clock (1) Door trim panel (1) Tires (1) Shift knob (1) Pump (1) Instrument cluster (5) Fuse box (5) Seat (1) Door lock (1) Rearview mirror (2) Warning light – error code (9) (1) Tire pressure warning light (1) Service warning light (8) Manufacturer emblem (3) Fuel cap (2) Windshield wipers (1) |
How to Remove the Front Bumper of the Citroën C4 Picasso?
To remove the front bumper of the Citroën C4 Picasso, you need to take out all the rivets and screws that secure the piece to its housing: these screws are located inside the wheel arches of the front wheels and at the central upper part of the bumper itself. Once all these fastening elements have been removed, you can detach the bumper from its seat by disconnecting the connectors inside and then insert the new replacement part. The new part can then be secured and connected properly, ensuring it is correctly fixed in place. by ScegliAuto More videos
|
|
For advertising on this site Write to info@scegliauto.com
ScegliAuto is not responsible for any inaccuracy of the data in the lists. To report any inaccuracy or your business (if you own the business in question), please write to info@scegliauto.com
Number of seconds to generate the page: 0.006
(c) ScegliAuto 2026 - info@scegliauto.com - Privacy policy VAT number: IT01247470535 |
