
|
Do it yourself
| |||
| ||||


How to replace the rear light bulb on a Fiat Punto
Model: Fiat Punto
MK 2, 188
- Years 1999-2011
Before we can start, we will have to go to open the tailgate of the trunk of our Fiat Punto. So let's start by removing the top cover of the trunk, unhooking the two cords, and then simply extracting it. After that, we will have to move the side carpet in correspondence of the headlight, thus reaching the bolts that secure the headlight to the car. We then proceed with unscrewing and removing these bolts, and then disconnecting the pins of the light. At this point, we can go and remove the light from the car, thus reaching the rear cover of the bulbs, fixed by screws. We will therefore have to unscrew and remove these screws, and then remove the rear cover, and we will have reached the burned out bulb. To disassemble the bulb we will simply have to extract it, and we will have finished the disassembly. To mount the new bulb and close the headlight, we will simply have to repeat these steps in reverse, and we will have finished the replacement.
Posted on 18 December 2020 by ScegliAuto
Video tutorial
Related tutorials
Fiat Punto
(2005-2018 /
199, MK 3, Punto EVO, Grandepunto )
In order to replace the license plate light bulb on the Fiat Grande Punto, you need to remove the light containing the bulb, using an object that act…
Fiat Punto
(2005-2018 /
199, MK 3, Punto EVO, Grandepunto )
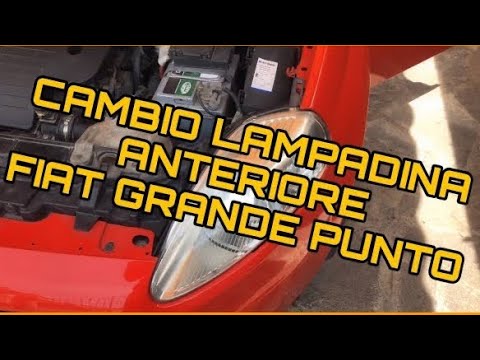
Before starting, we will have to open the front hood of our Fiat Punto. Let's start by going to disengage and remove the rear cover of the burned out…
Fiat Punto
(2005-2018 /
199, MK 3, Punto EVO, Grandepunto )
Let's see in this video how to replace the license plate light bulb on a Fiat Grande Punto. With a screwdriver we remove the spotlight of the license…
Other guides you may be interested in
|
How to Replace the Timing Belt on the BMW X3
Unlatch and lift the hood, then you will need to remove all the parts above the area where you will be working. As shown in the video, you can remove the screws to take off the upper panels. Now you need to remove the air filter cover from the engine. In any case, you will need to remove all obstructing parts until you reach the belt. In the diagram, you can see which pulley acts as the tensioner, so loosen it to remove the belt. Once the tension is off the belt, you can take it out and replace it without issues. Retrace the steps in reverse for reassembly of the various components. by ScegliAuto More videos
|
|
For advertising on this site Write to info@scegliauto.com
ScegliAuto is not responsible for any inaccuracy of the data in the lists. To report any inaccuracy or your business (if you own the business in question), please write to info@scegliauto.com
Number of seconds to generate the page: 0.067
(c) ScegliAuto 2026 - info@scegliauto.com - Privacy policy VAT number: IT01247470535 |